

Slides are a deck of frames on a flip: the slides stand in one row in the order of the show, and each one has its own format and color. You can add blank slides, slides from templates or existing frames of the flip to a deck, and then show them to participants as a presentation
How to create a slide deck
On the toolbar, select “Slides”. If the tool is not on the toolbar, open “All tools” — the tool is in the “Formats” section
Click the flip — an empty deck appears with the hint “Drag frames here or create a new slide” and the “Blank slide” and “Template” buttons
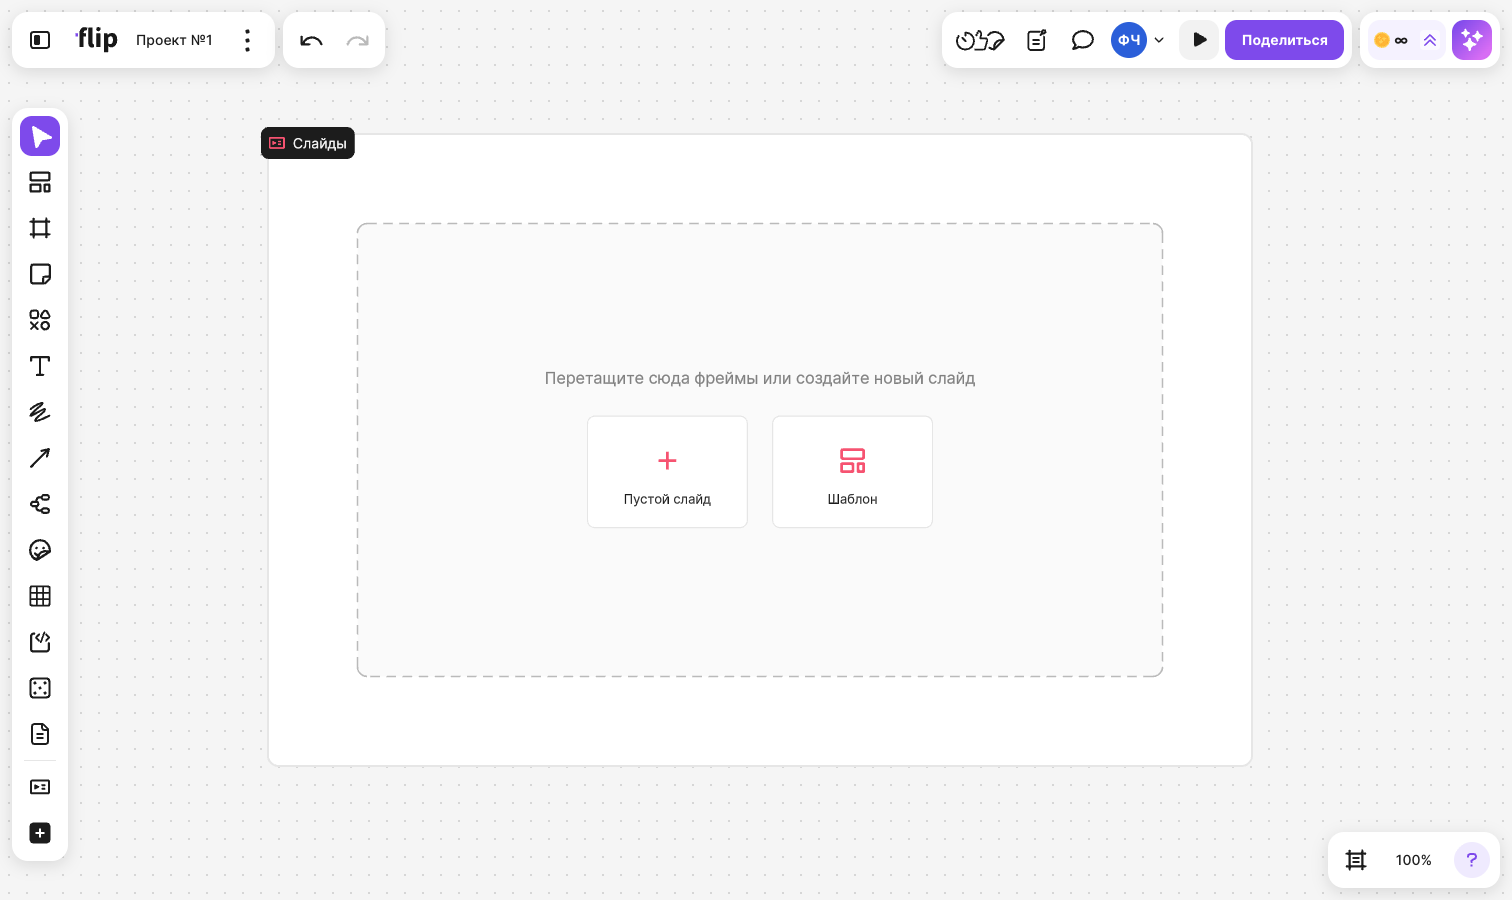
A new deck is named “Slides”. You can also create a deck from existing frames — see the section “How to add existing frames”
How to add slides
- “Blank slide” — add an empty slide. The first slide of a deck gets the 16:9 format and a white background, and each next slide copies the format and color of its neighbor
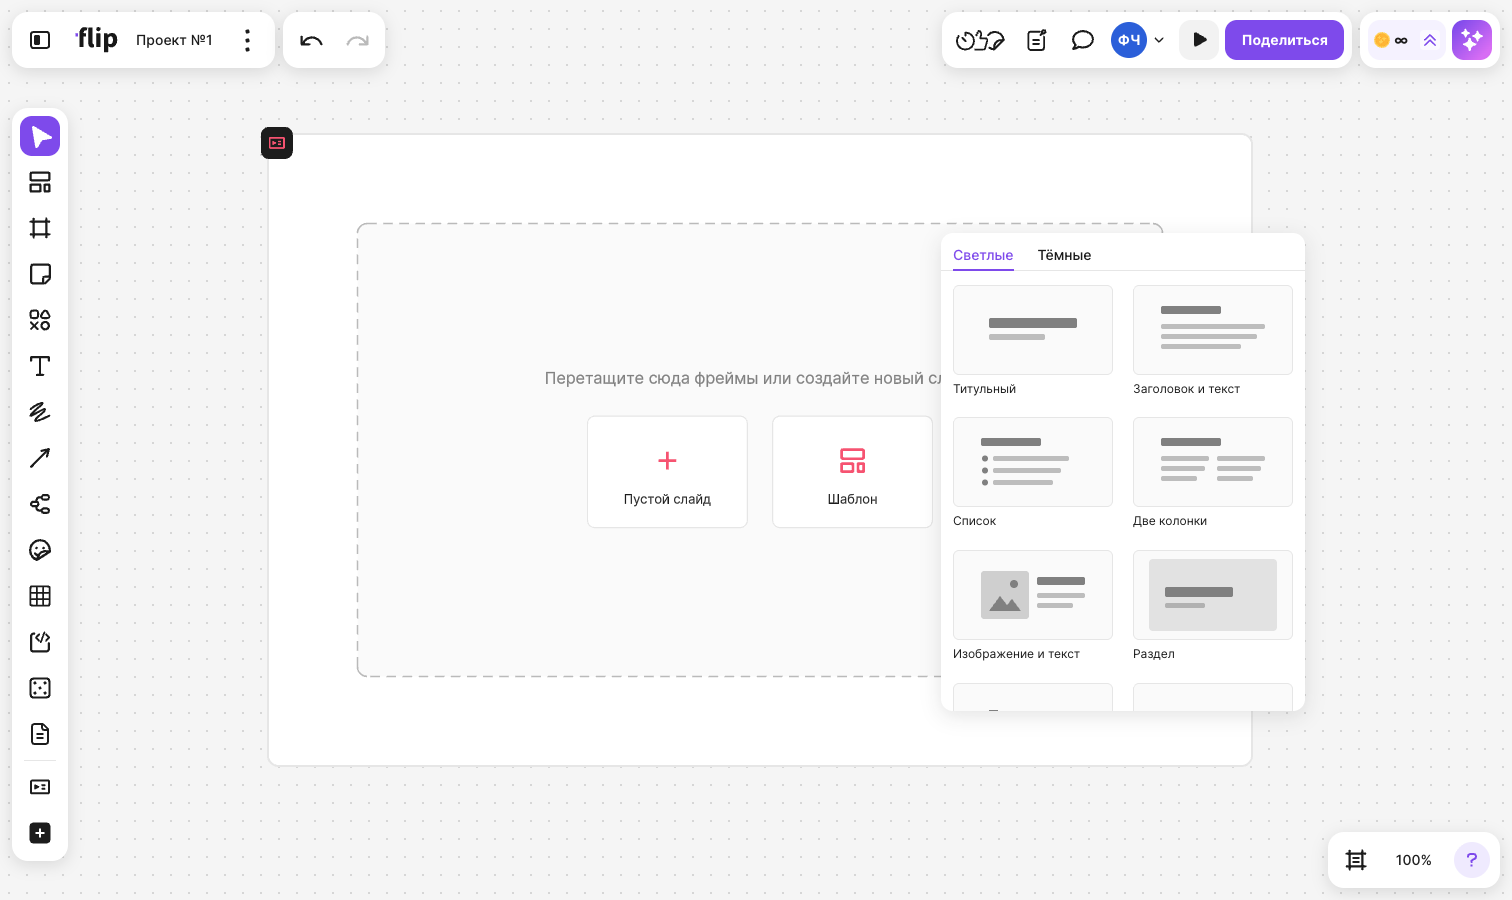
- “Template” — pick a ready-made slide. The picker has the “Light” and “Dark” tabs and the templates “Title”, “Title and text”, “Bullet list”, “Two columns”, “Image and text”, “Section”, “Quote”, “Thank you”, “Principles”, “Metrics”, “Timeline”, “Roadmap”, “Monthly plan”, “Matrix” and “Venn diagram”
When a deck already has slides, hover over a slide — two buttons appear to the right of it: “+” adds a blank slide after this slide, and the templates button opens the template picker. The number of each slide is shown above it
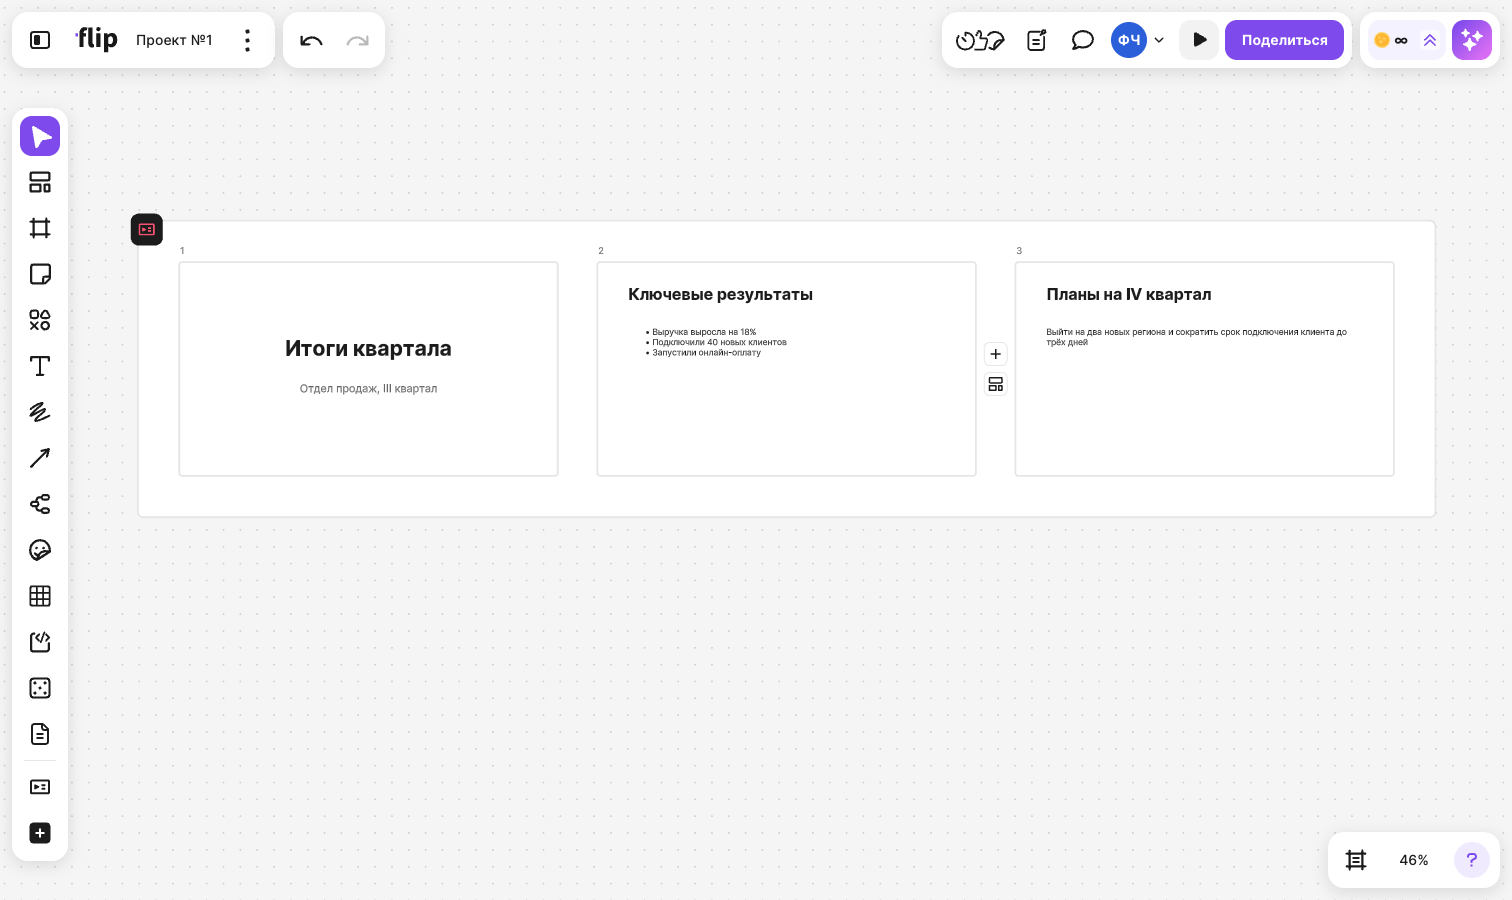
You add content to a slide the same way as to a frame: create an element right on the slide or drag it onto the slide. Learn more in the article How to work with frames
How to add existing frames
- Drag a frame onto a deck — the place where it will go is highlighted, and the neighboring slides move apart. The frame adjusts to the height of the deck's slides, and its content is scaled along with it
- Select one or more frames and click “Make a slide” in the panel above the frame, or right-click the selection and select “Make a slide” or “Make slides”. “Make a slide” is also in the “More” menu on a frame card in the “Frames” panel
“Make slides” creates a new deck in place of the selected frames. The frames go into it in reading order: row by row from top to bottom, and from left to right within a row
Frames that have become slides disappear from the “Frames” panel. A slide has no name on the flip and can't be resized or rotated separately from the deck
How to change the order and format of slides
- Drag a slide by the slide itself or by its number to a new place in the deck. You can also drag several selected slides, including into another deck
- Select a slide and click “Move left” or “Move right” in the panel above it
- To change the format, select a slide and click the format name in the panel above it — the tooltip reads “Slide format”. The available formats are “16:9”, “4:3”, “1:1”, “A4”, “Mobile”, “Tablet” and “Browser”. The slide height stays the same, the width changes, and the content adjusts to the new size
- “Duplicate slide” in the panel above a slide or Ctrl + D (⌘ + D on macOS) — the copy goes right after the original slide
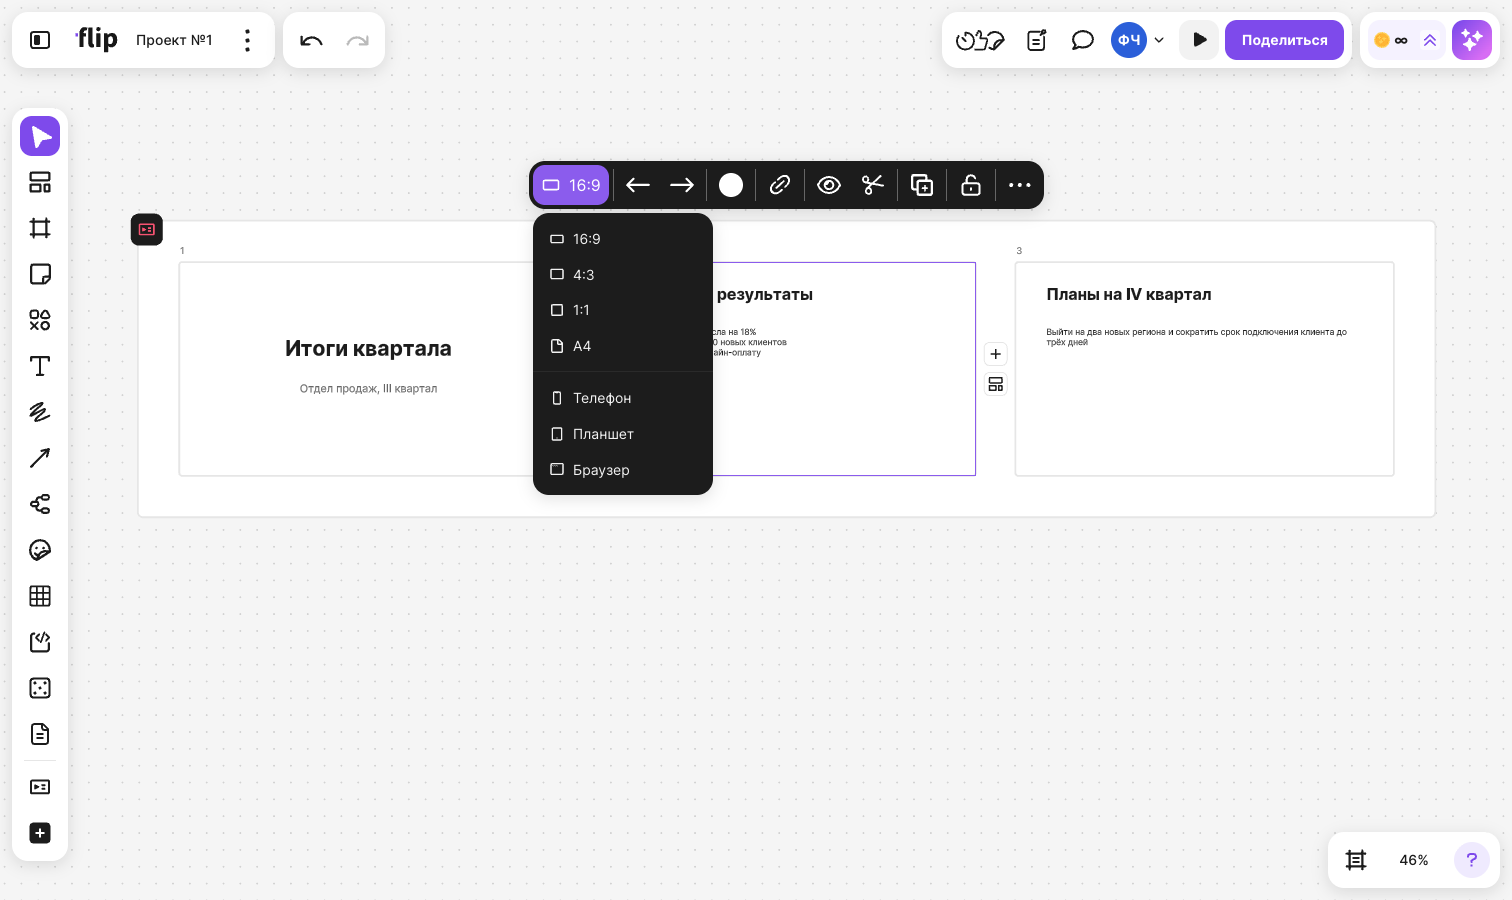
To leave a slide out of the presentation, hide its content with the “Hide” button in the panel above the slide. A hidden slide stays in the deck but isn't included in the presentation or in PDF. To bring it back, click “Show”. How hiding works is described in the article about frames
Plan limits
Hiding slides, like hiding frames, is included in paid plans
How to work with a deck
- To move a deck together with its slides, select it first and then drag it. If you start dragging a deck that isn't selected, a selection box appears
- To resize a deck, drag a corner of the selection box — the slides and their content are scaled together with the deck, and the proportions are kept
- You can change the name of a deck in the name field in the panel above the selected deck
- To take a slide out of a deck, drag it outside the deck, or right-click it and select “Remove from slides”. When you use the menu, the slides are placed in a row below the deck and become regular frames again
- When you delete a slide, the other slides move to close the gap. When you delete a deck, all of its slides are deleted together with their content. You can undo the deletion with Ctrl + Z (⌘ + Z on macOS)
You can find a deck with search on the flip using the “Slides” filter and mention it in a document: in the @ menu, it is on the “Object” tab
How to edit slides in focus mode
In focus mode, only the current slide stays on the screen, and the rest of the flip is hidden. To open this mode, select a deck and click “Fullscreen” in the panel above it, or double-click the deck name

- On the left are the slide thumbnails. Click a thumbnail to open the slide, drag a thumbnail to change the order. The ← and → arrows (as well as ↑, ↓, PageUp and PageDown) switch slides when nothing is selected on the slide
- “New slide” adds a blank slide after the current one, and the “Template” button next to it adds a slide from a template
- The thumbnail menu (the three-dot button or a right-click) offers “Hide”, “Clone”, “Add slide below”, “Copy link”, “Save as” and “Delete”
- You edit slide content as usual: the toolbar is at the top of the screen
- You can change the deck name by clicking it at the top of the screen
To leave focus mode, click “Collapse” or press Esc — the flip zooms to the slide that was open
How to add presenter notes
Notes are written in focus mode, in the “Notes” panel to the right of the slide
- Open the deck in focus mode and select a slide
- Type the text in the “Type to add presenter notes” field — the note is saved automatically
Notes are private: only you see them, even if other participants write notes for the same slide. During the show, the presenter opens them with the “Open notes” button. A note can be up to 1500 characters long
You can make the notes panel wider or narrower by dragging its edge. To collapse the panel, drag its edge to the right until the panel collapses, and to bring it back, click the “Show notes” handle
How to show and share slides
- Select a deck and click “Present” in the panel above it, or click “Start presentation” in the top right corner of the flip and select a deck. How the show works is described in the article How to run a presentation on a flip
- Right-click a deck, select “Copy as” and then “Focus mode link”, “View link” or “Image”. A focus mode link opens the deck in focus mode, and a view link opens the slides for the person to flip through on their own. In focus mode, the same links are copied with “Copy focus mode link” and “Copy view link” in the three-dot menu next to the deck name
- “Save as PDF” in the context menu of a deck or in the three-dot menu in focus mode — a file where each slide takes a separate page. Hidden slides are not included in the file
Limitations
- Participants who can edit the flip can create and edit decks. In a deck that is locked, you can't add, move or delete slides
- On a phone, decks and slides can't be edited and there is no focus mode — you can only show a deck
- The “Hide” button is available for “16:9”, “4:3”, “1:1” and “A4” slides. “Mobile”, “Tablet” and “Browser” slides don't have it
- A presenter note can be up to 1500 characters long