

A mind map helps you break a topic down into parts: branches with ideas, tasks or sections grow from a central node. The map arranges the nodes and connects them with lines by itself, so it works well for brainstorming, a project plan or a document outline
How to create a mind map
On the toolbar, select “Mind map” or press the M key
If the tool is not on the toolbar, open “All tools” — it is in the “Diagrams and flowcharts” section
Click an empty spot on the flip — a central node appears in text input mode, and the “Edit” tool becomes active on the toolbar again
Type the topic name and click outside the node
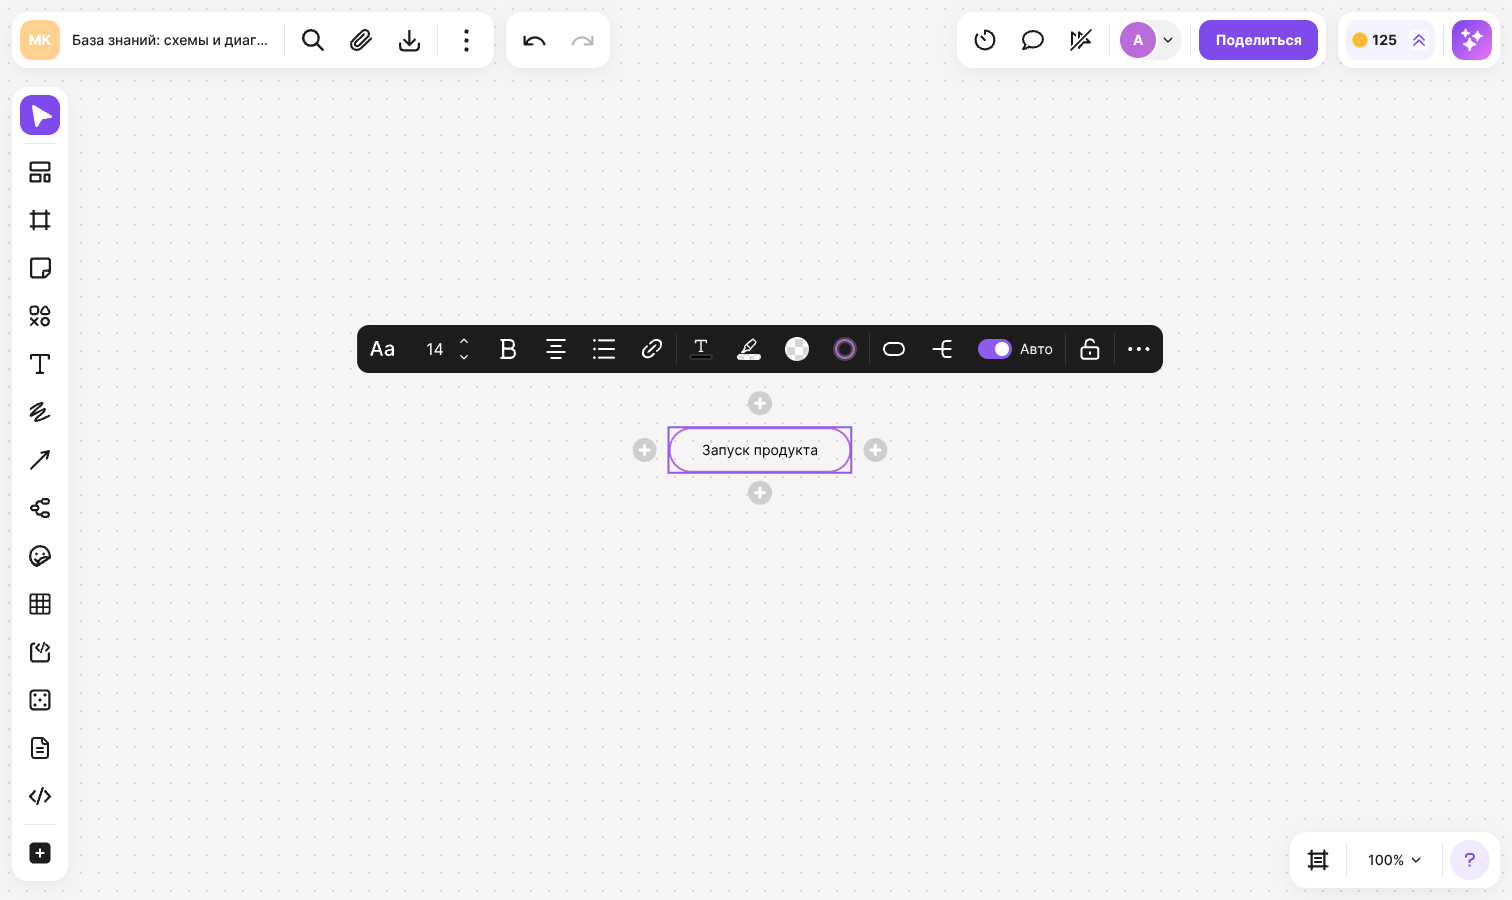
A flip can hold several maps — they do not depend on each other. To start from a ready-made structure, use the “Mindmap” template — see Templates
How to add nodes
With the mouse:
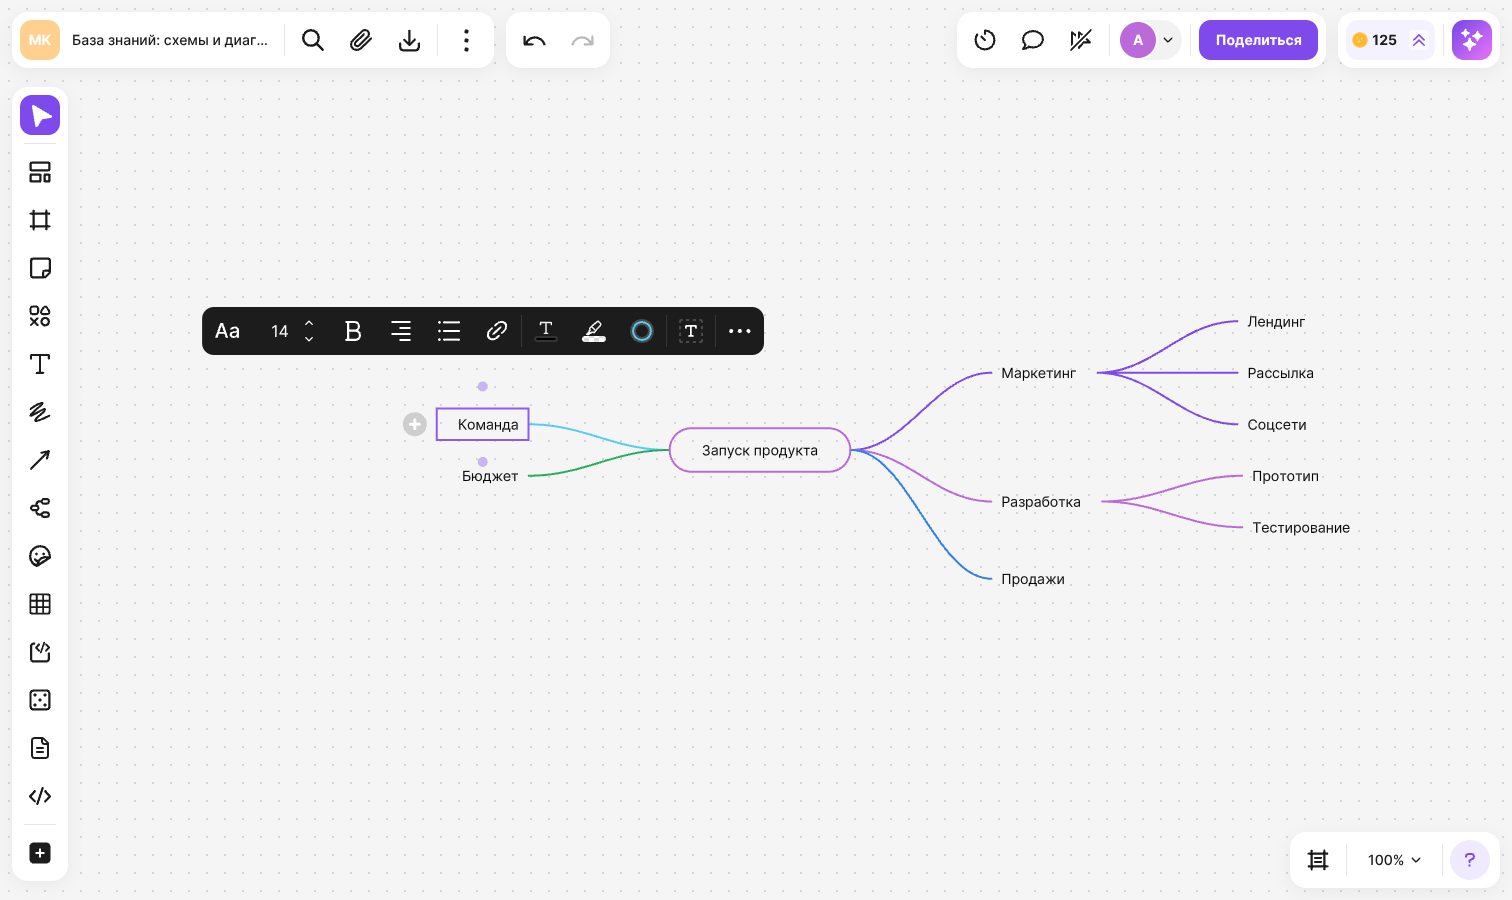
- Hover over a node or select it — buttons for adding a branch appear on its sides
- Click the button on the side you need — a child node connected to its parent appears
- Type the text
Branches of the central node are added on the left and on the right. If you add a branch above or below it, the map becomes vertical
With the keyboard:
- Tab — add a child node to the selected node. For the central node of a map that has no branches yet, the node is added below it and the map becomes vertical
- Enter — add a sibling node of the same level right after the selected one
How to edit node text
Double-click a node, change the text and click outside the node. In input mode, Enter and Shift + Enter start a new line and Tab inserts an indent — no new nodes are created
A node adjusts to its text: a long line wraps and the node grows taller. You can change the width of a node with text manually — drag its side border
Select a node to set up its text in the menu above it: the font (“Regular”, “Handwritten”, “With serifs”, “Rounded”), “Font size”, “Text style”, “Alignment”, “List”, “Text color” and “Highlight text”. Text formatting applies to the selected node only
How to rearrange a map
- Drag the central node — the whole map moves
- Drag a node onto another node — the branch with all its nested nodes becomes a child of that node. The node that will receive the branch is highlighted
- Drag a node between neighboring nodes of the same level to change their order
- Drag a first-level branch across the central node to move it to the opposite side of the map
- Drag a branch or the central node of one map onto a node of another map to merge them. The moved branch takes the styling of the branch it lands in
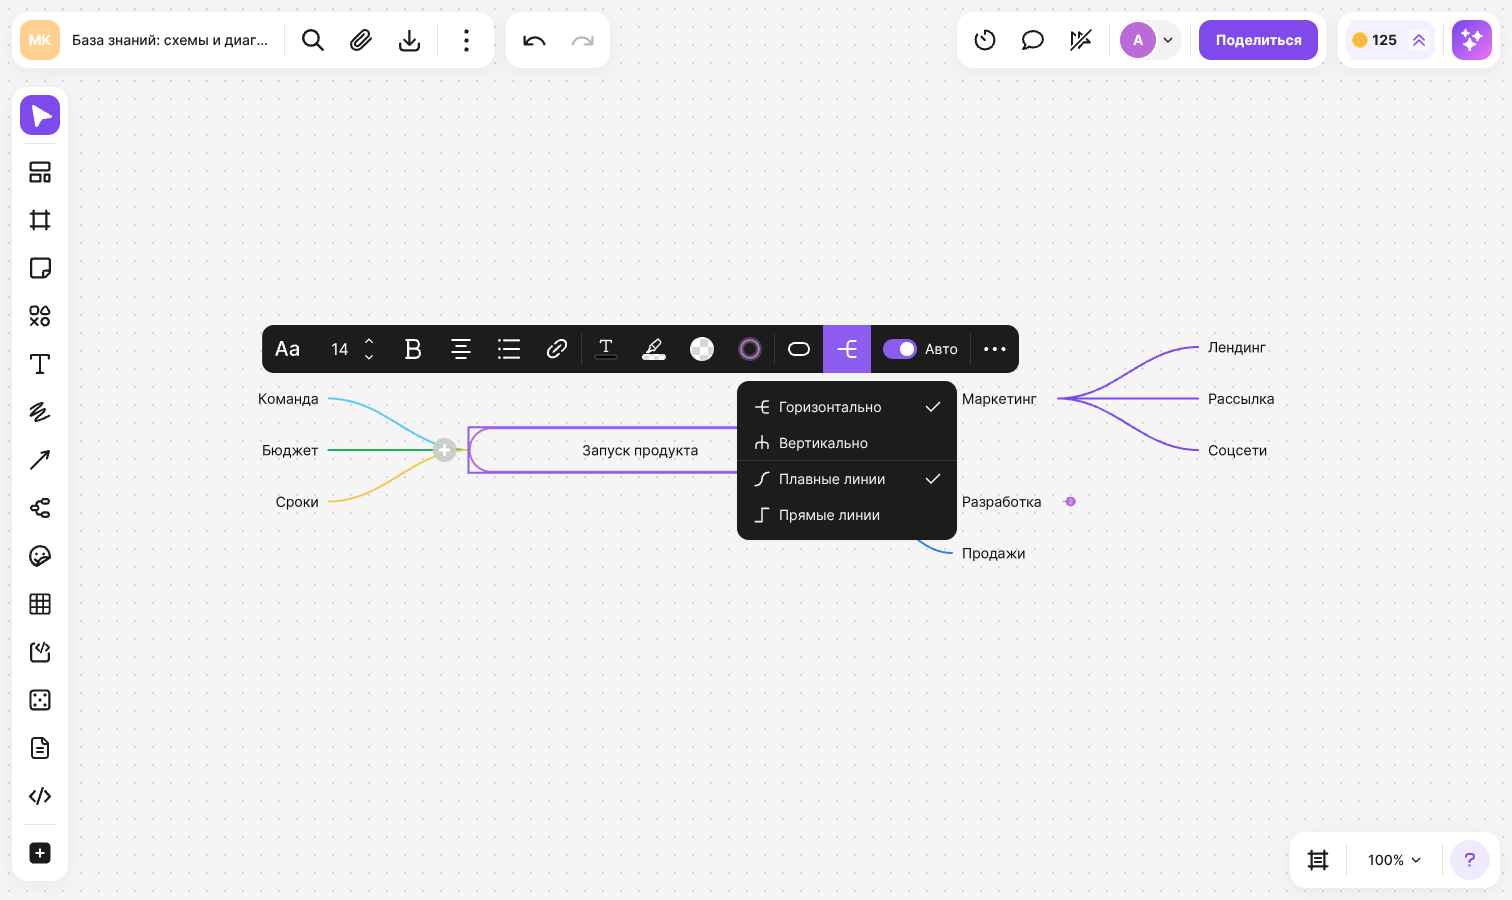
The layout of a map is set in the menu of the central node:
- “Orientation” — “Horizontal” or “Vertical”, and the connection style: “Smooth line” or “Straight lines”
- “Auto” — automatic layout. While it is on, the map aligns the nodes by itself and individual branches cannot be moved freely. Turn “Auto” off to place nodes manually. When you turn it back on, the map is aligned again
How to collapse a branch
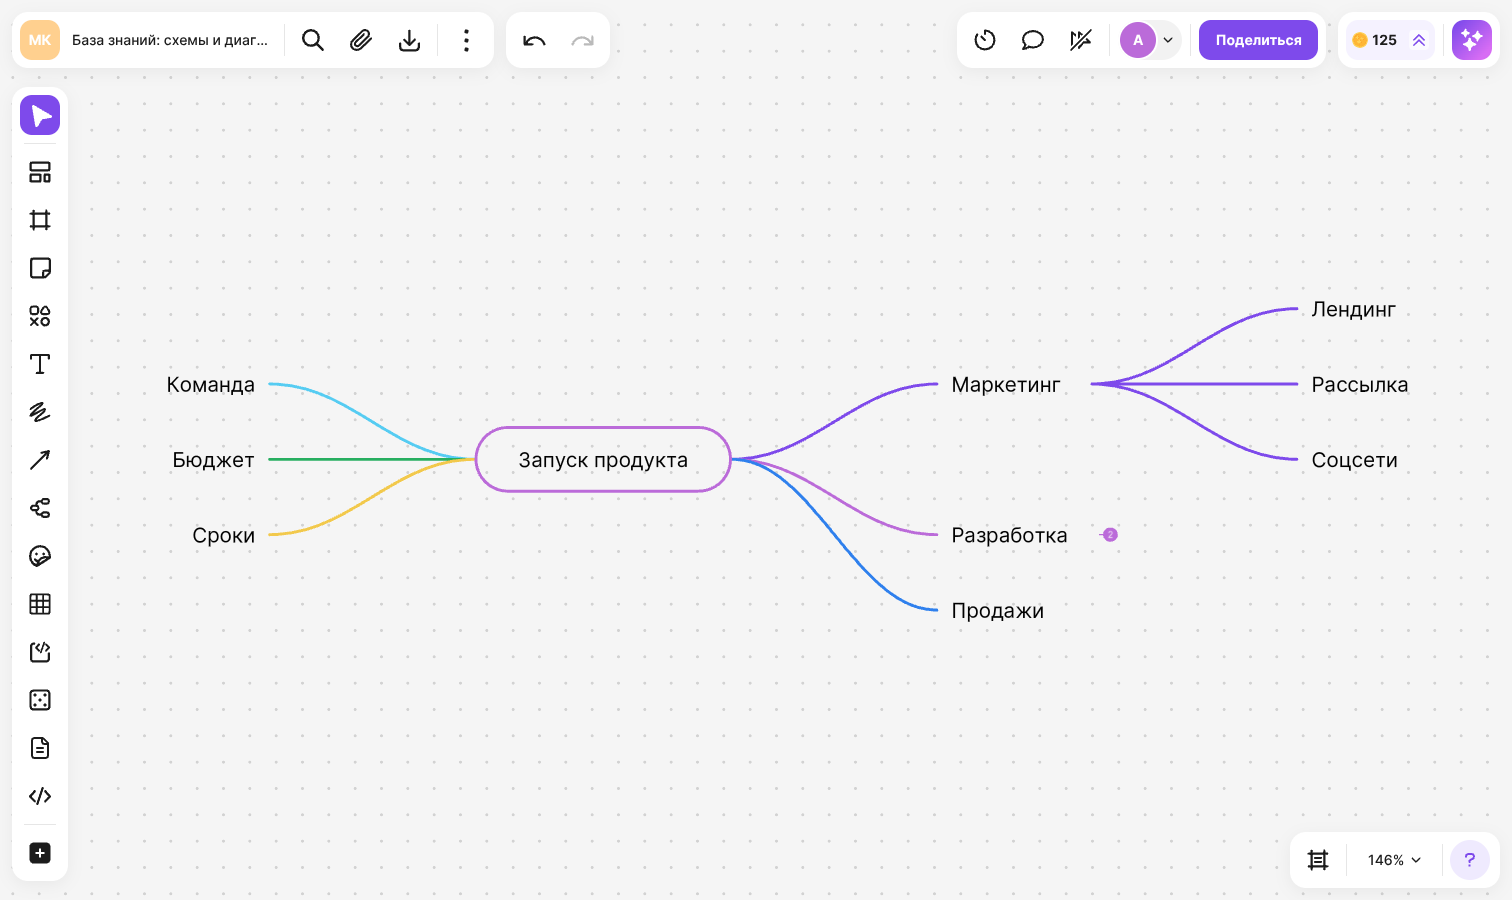
Hover over a node that has child nodes and click the collapse button. The nested nodes are hidden and the button shows how many there are. At 100% zoom the number is too small — zoom in on the flip to read it. Click the button again to expand the branch
If you select a collapsed node and press Tab, the branch expands and a new node is added to it. Another branch cannot be dragged onto a collapsed node
How to style nodes
Select one or several nodes and use the menu above them:
- “Node type” — the shape: no shape, ellipse, rounded rectangle or rectangle
- “Fill” — the node color. Fill is not available for nodes without a shape
- “Border” — the line color and type: solid, dashed or dotted. These settings also apply to the connecting lines of the branch
The shape, fill and border of a child node apply to its whole branch — the node itself and all nested nodes. The fill and border of the central node change only for that node. New nodes inherit the styling of the branch they are added to
Copying, locking and deleting
- Copy and paste the central node to get a copy of the whole map. A copy of a child node is pasted as a separate map where it becomes the central node
- To delete a node with all its nested nodes, select it and press Delete or Backspace. Deleting the central node deletes the whole map
- Only a whole map can be locked: expand all branches, select the central node and click “Lock”. See Grouping, alignment and locking for details
- You can attach a regular arrow to a node — it stays attached when the map is moved or rearranged
Limitations
- Mind map nodes cannot be rotated
- The connecting lines of a map cannot be selected, changed separately from the nodes or labeled
- Only the color and line type of a node border can be set — the thickness and opacity do not change
- A node cannot be placed into a table cell. A map with automatic layout turned on can only be placed into a frame as a whole — drag it by the central node