

When a flip has many elements, it is easier to work with several of them at once: combine them into a group, align them, arrange them with equal gaps or lock them so that nobody moves a finished diagram by accident. All these actions are gathered in the selection menu and in the context menu that opens with a right click
How to select several elements
- Hold the mouse button on an empty area of the flip and drag a selection box
- Click elements while holding Ctrl (⌘ on macOS) or Shift — each click adds an element to the selection or removes it
- Hold Shift and drag another box to add a new area to the selection
- Press Ctrl + A (⌘ + A) to select everything
A menu appears next to the selection with the actions that suit all the selected elements. If the selection contains elements of different types, the filter by type helps you keep only the ones you need
How to group elements
Select two or more elements
In the selection menu, click “Group” or press Ctrl + G (⌘ + G)
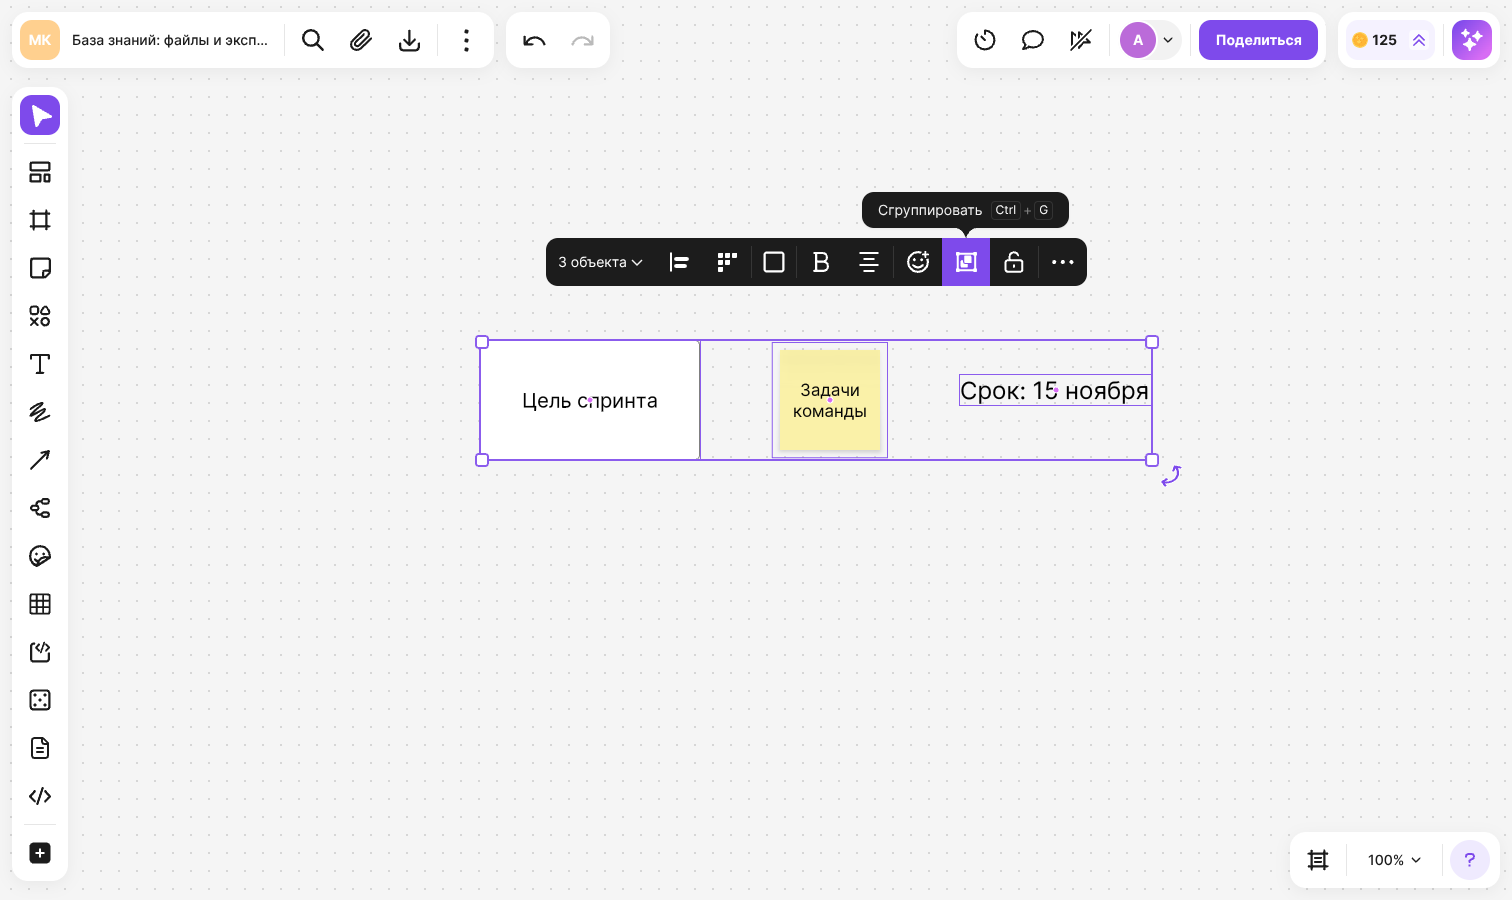
A click on any element of a group selects the whole group. You can move, rotate, resize, copy and delete a group as a single object, and shared style settings are applied to all its elements
To change one element without ungrouping, double-click it — you enter the group, and the other objects on the flip become dimmed. Inside a group, elements are selected, moved and edited one by one. To exit, click an empty area of the flip
To break up a group, select it and click “Ungroup” or press Ctrl + Shift + G (⌘ + Shift + G). The elements stay where they are
If you group a group with other elements or with another group, you get one common group — there are no nested groups
How to align elements
Select two or more elements
In the selection menu, click “Align”
Choose an option: align left, center horizontally, align right, align top, center vertically or align bottom
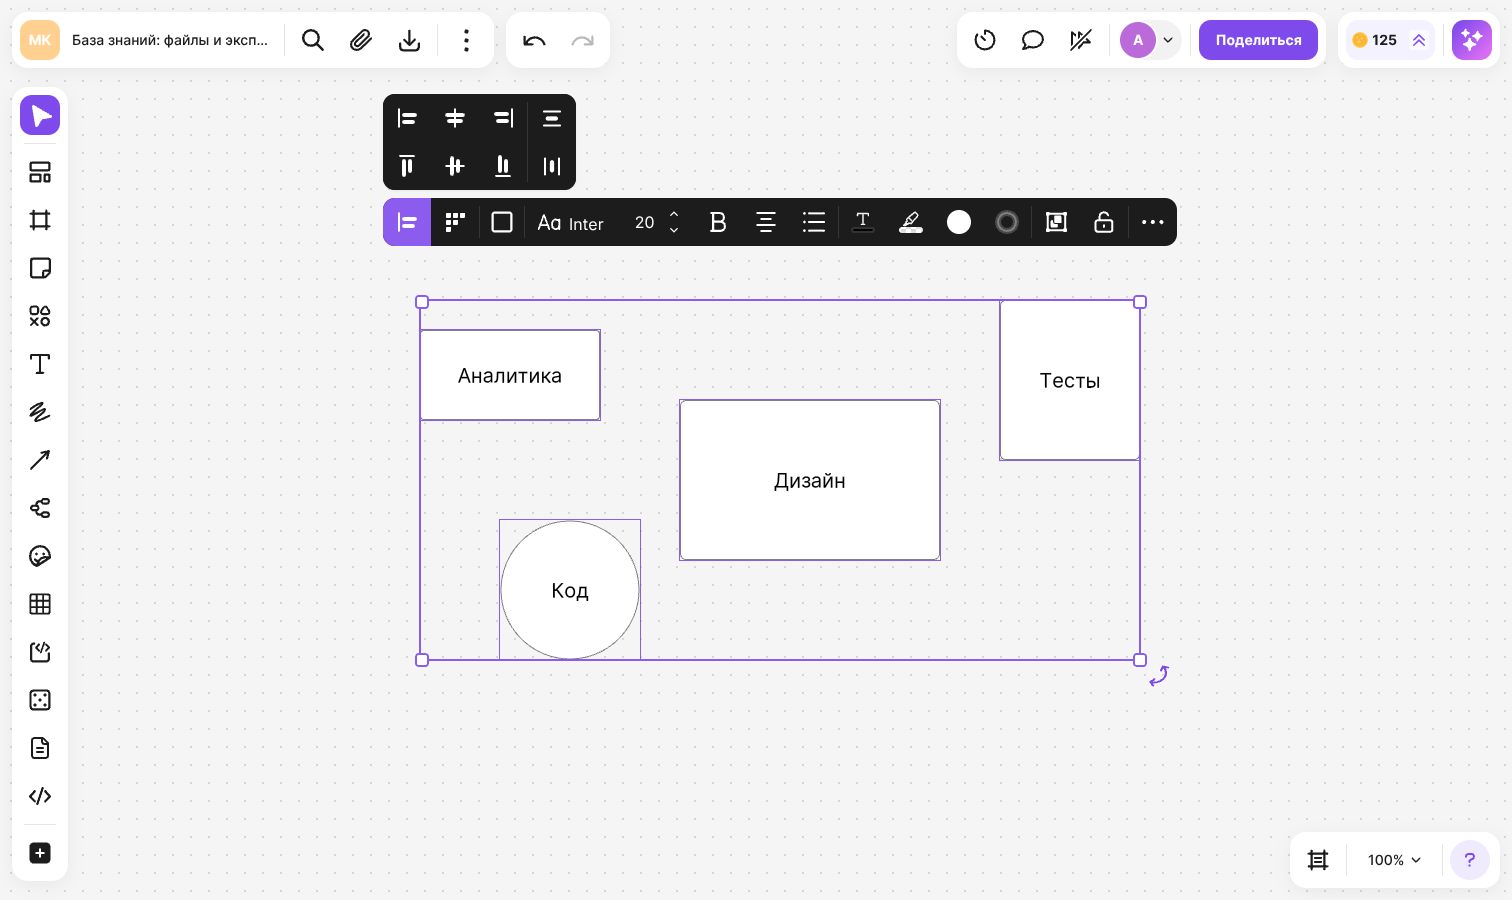
On the right of the same panel there are two distribute buttons, vertical and horizontal. They are available when three or more elements are selected: the outermost elements stay in place, and the rest are placed between them with equal gaps
When you drag an element near others, guides appear and the element snaps to their edges and centers. To move an element strictly along one axis, drag it while holding Shift
How to arrange elements in a row, a column or a grid
- Select the elements
- In the selection menu, click “Arrange”
- Choose “Arrange in a row”, “Arrange in a column” or “Arrange in a grid”
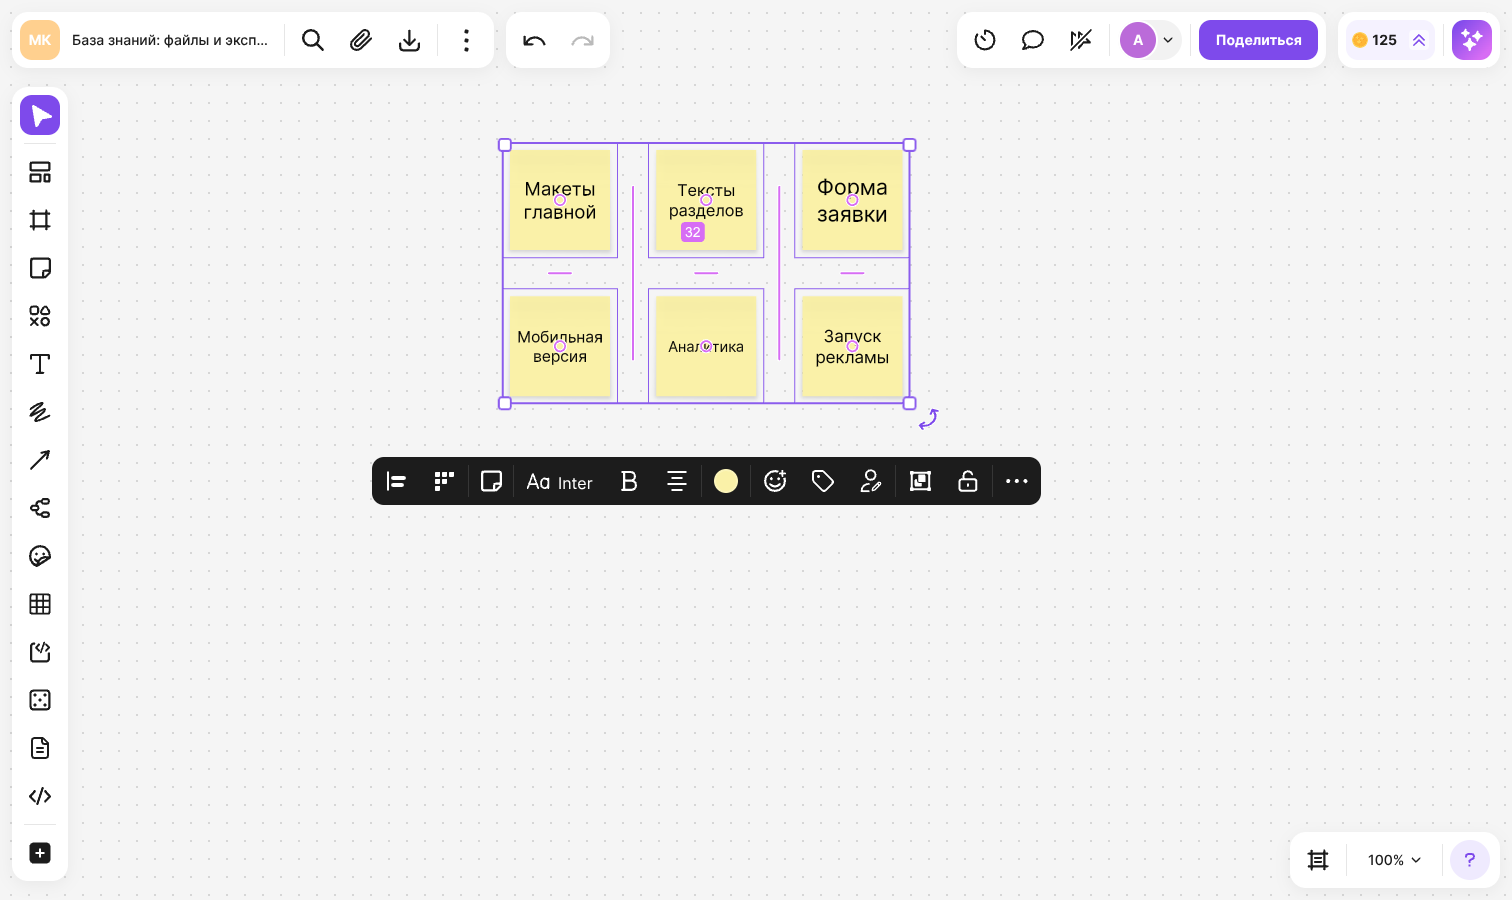
The elements line up in a row, a column or a grid with equal gaps. “Arrange in a grid” is available when three or more elements are selected
While the arranged elements are selected, hover over them:
- A marker appears in the center of each element — drag an element by it to swap elements
- Lines appear between the elements — drag a line to change the gap between all the elements at once
If a group is selected together with separate elements, it is aligned and arranged as a single object. If only a group is selected, the elements inside it are aligned
How to change the layer order
Right-click an element, select “Move” and then the item you need:
- “Bring to front” — above the other elements, Ctrl + ]
- “Send to back” — below the other elements, Ctrl + [
- “Bring forward” — one layer up, Ctrl + Alt + ]
- “Send backward” — one layer down, Ctrl + Alt + [
On macOS, use ⌘ instead of Ctrl and ⌥ instead of Alt. Frames always stay below regular elements
How to lock elements
Select the elements and click “Lock” in the selection menu or press Ctrl + L (⌘ + L). The same item is available in the context menu. A locked element can't be moved, changed or deleted until it is unlocked
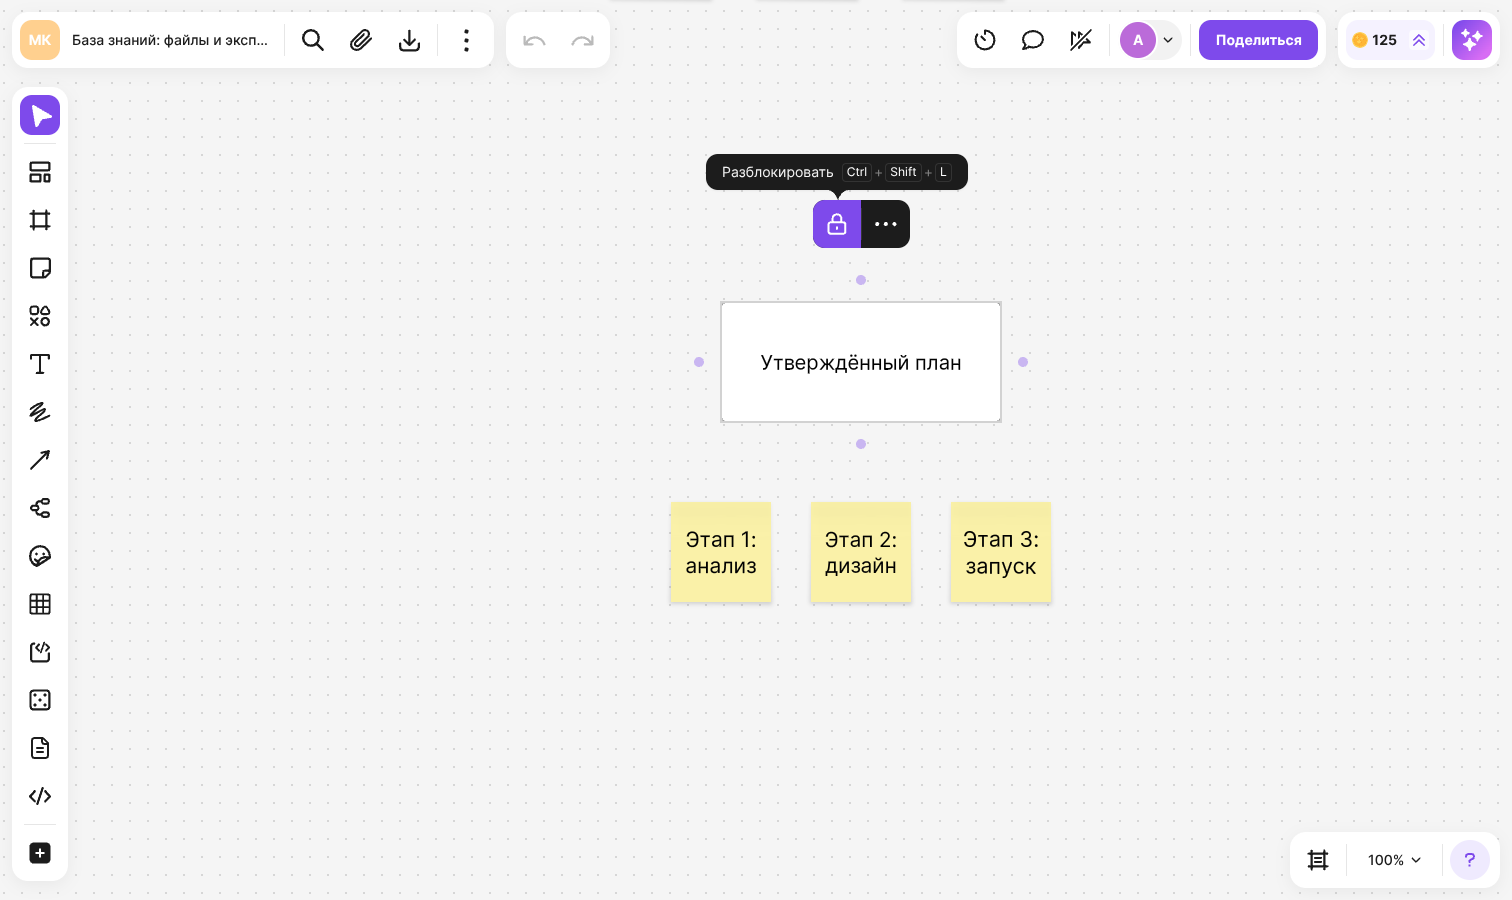
To remove the lock, select the element and click “Unlock” or press Ctrl + Shift + L (⌘ + Shift + L). To unlock all elements on the flip at once, right-click an empty area and select “Unlock all”
Important
By default elements can be locked and unlocked by the flip author, team author, space owner and admins. You can allow this for all space members in the “Share” window on the “Permissions” tab — see the article on flip access
How to copy, duplicate and cut
- Ctrl + C and Ctrl + V — copy and paste. The copy appears where the cursor is. You can also paste onto another flip
- Ctrl + X — cut
- Ctrl + D or “Clone” in the context menu — create a copy next to the original element
- Dragging while holding Alt (⌥) — leave the original in place and create a copy where you release the mouse button
- Alt + arrow key (⌥ + arrow key) — create a copy in the direction of the arrow
- “Copy as image” in the context menu or Ctrl + Shift + C — put a picture of the selected elements on the clipboard
The context menu has the “Copy” and “Paste” items. For pasting from the context menu to work, allow the browser to access the clipboard
A group is copied as a whole, and the copy becomes an independent group. If you copy an arrow together with the elements it connects, the copy of the arrow connects the copies of the elements
Limitations
- You can copy no more than 5000 elements at a time
- The flip owner can forbid copying elements — the “Copying elements” setting is in the “Share” window on the “Permissions” tab
- “Align” and “Arrange” don't appear if the selection contains a mind map or locked elements
- A mind map can be added to a group only as a whole; its individual nodes can't be grouped or locked
- Table cells can't be grouped with other elements — the whole table goes into the group
- Locked elements can't be grouped or ungrouped until the lock is removed