

A template is a ready-made structure for a typical task: a retrospective, planning, analysis or a process diagram. It is added to a flip as a set of regular elements that you can change, extend and delete. You can add a template to an open flip or create a new flip with it right away
How to add a template to a flip
On the toolbar, select “Templates”. If the tool is not on the toolbar, open “All tools”
A window with the list of templates opens
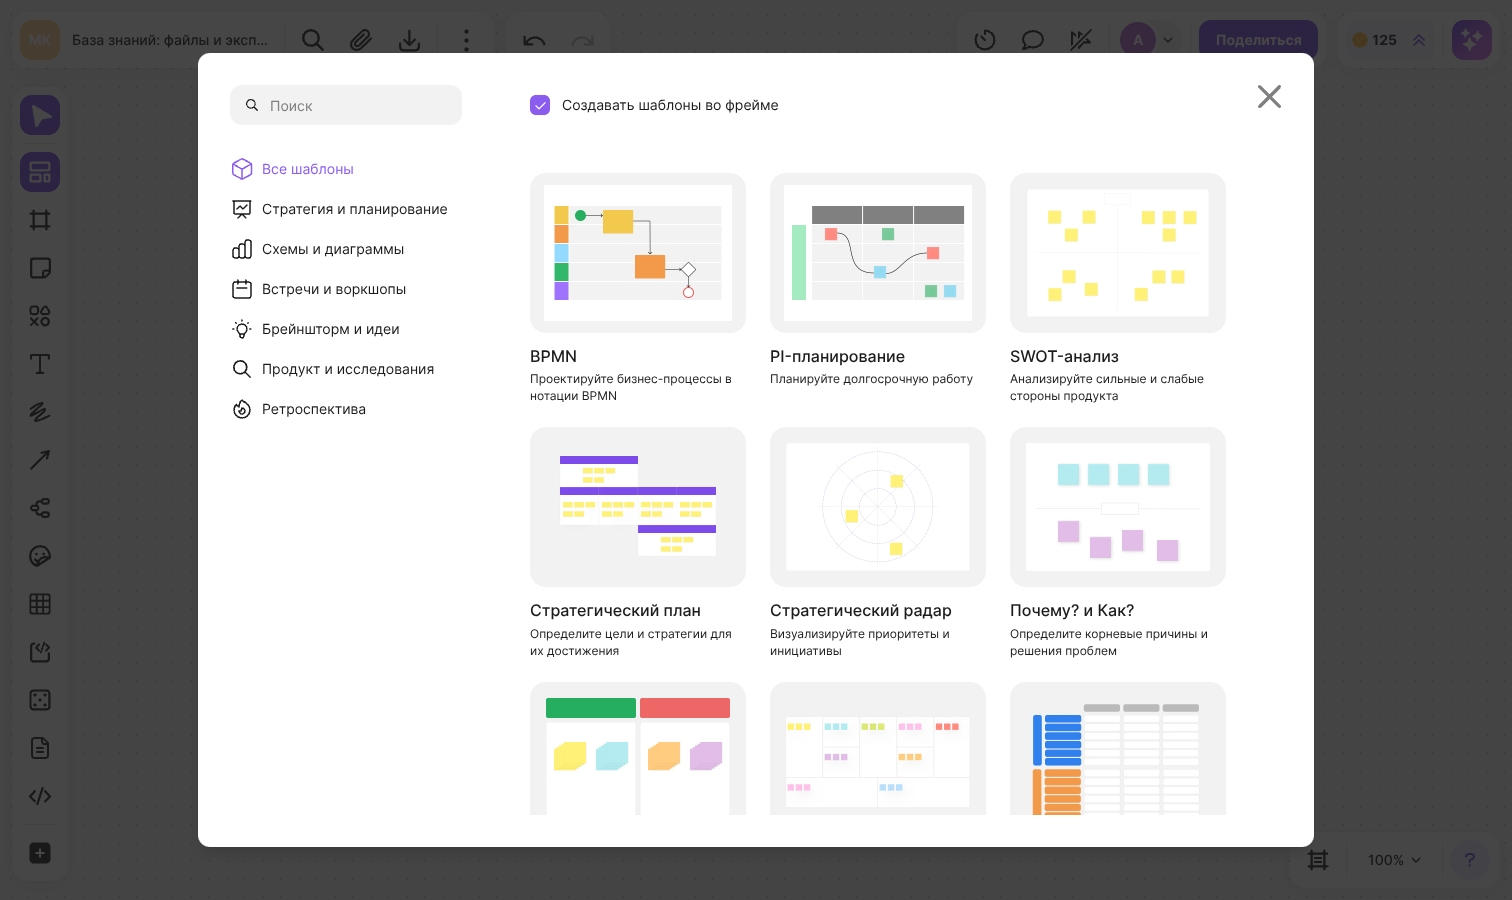
Choose a category on the left or find a template with “Search”
Hover over a template card and click “Use”
Click the flip where the template should appear
To take a closer look at a template first, click “Learn more” on its card
How to start a new flip from a template
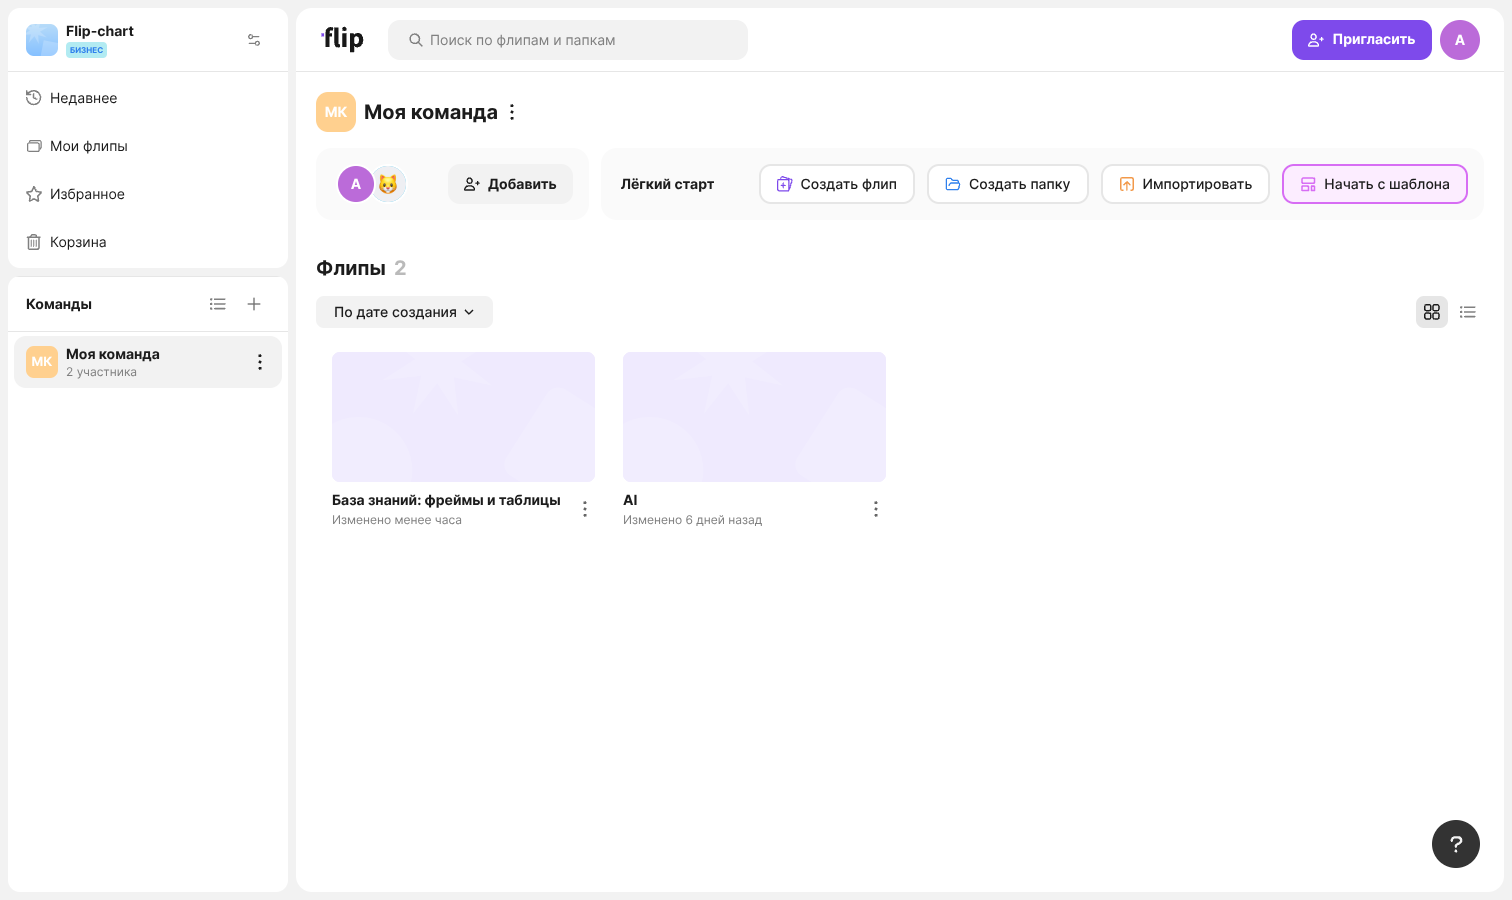
- On the home page, in the “Quick start” block, click “Start from template”
- Choose a template and click “Use” on its card
flip creates a new flip, opens it and places the template in the center of the screen. There is no “Learn more” button in this window — you can preview a template in the templates window on the flip itself
Plan limits
On the Mini plan, only 3 flips can be created in a team. If the limit is reached, you cannot start a new flip from a template — add the template to an existing flip or free up space by deleting flips you don't need. Learn more in the Mini plan article
How to preview a template before adding it
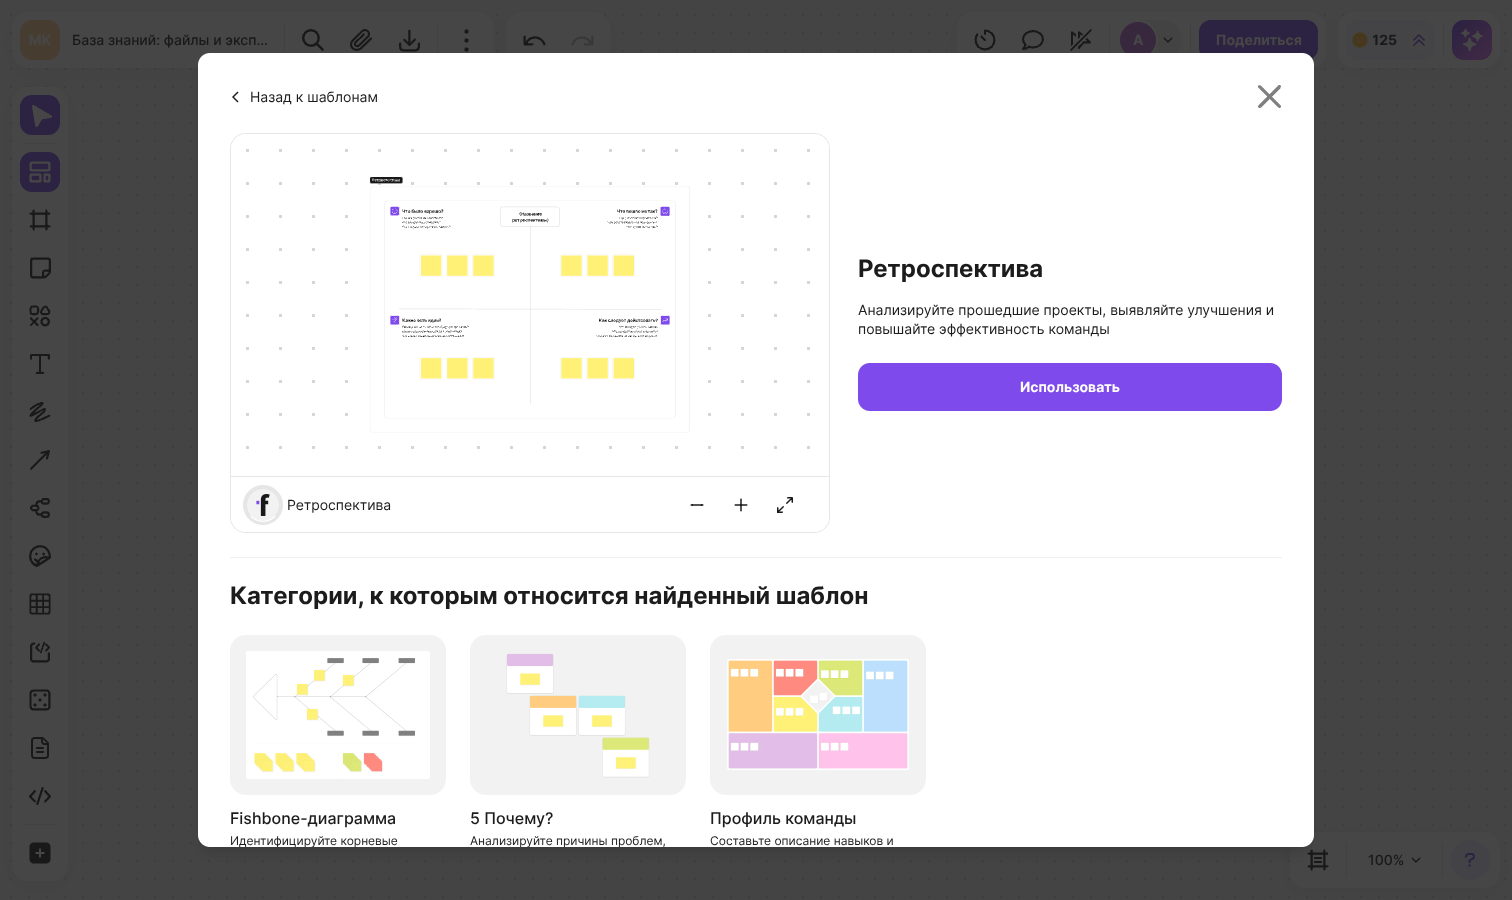
Click “Learn more” on a template card — a page with a large image, the name and the description opens
- The buttons next to the image zoom it in and out and open it in full screen
- “Use template” — choose this template and go on to place it on the flip
- “Back” — return to the list
- Below, the “Related categories” block shows other templates from the same category
How to find a template
- The categories on the left side of the window keep only the templates on the selected topic in the list. “All templates” shows the full list. In a narrow window, the categories open with the menu button next to the search
- “Search” looks through the names and descriptions of the templates in the selected category. If nothing fits, the “Nothing found” message appears — try another query or select “All templates”
A template in a frame or without one
The “Create template in a frame” checkbox at the top of the window defines how a template gets onto a flip:
- The checkbox is selected — the template is created inside a frame. It is convenient to move it as a whole, show it in presentation mode and export it
- The checkbox is cleared — only the template elements are added to the flip, without a frame
The checkbox is selected by default. Your choice is remembered in your browser and applies to all the templates you add next
Which templates are available
“Strategy and Planning”: “PI Planning”, “SWOT Analysis”, “Strategic Plan”, “Strategic Radar”, “Why? and How?”, “Pros or Cons”, “Roadmap”, “Calendar 2025”, “Calendar 2026”, “OKR”, “Kanban Board”
“Diagrams and Schemes”: “BPMN”, “Fishbone Diagram”, “Mindmap”, “Block Diagram”
“Meetings and Workshops”: “Calendar 2025”, “Calendar 2026”, “Meeting Notes”
“Brainstorm and Ideas”: “Fishbone Diagram”, “Table”, “5 Whys?”, “Wish List”
“Product and Research”: “Lean Canvas”, “Roadmap”, “JTBD”, “Personas”, “5 Whys?”, “Service Blueprint”
“Retrospective”: “Fishbone Diagram”, “5 Whys?”, “Team Profile”, “Retrospective”
A template can belong to several categories
What to do with a template next
Once added, a template is no different from elements created by hand: change the text on stickers, recolor shapes, draw more arrows and delete what you don't need. To learn how to invite teammates to work on a flip, read the Sharing and access article