

You can add images and files to a flip — PDFs, presentations, text documents and spreadsheets. An image becomes an element that you can crop, flip and outline with a border, and a document file can be browsed page by page, shown in presentation mode and downloaded back
How to upload an image or a file
Option 1. Click “Upload” on the top panel next to the flip name and select one or several files on your computer
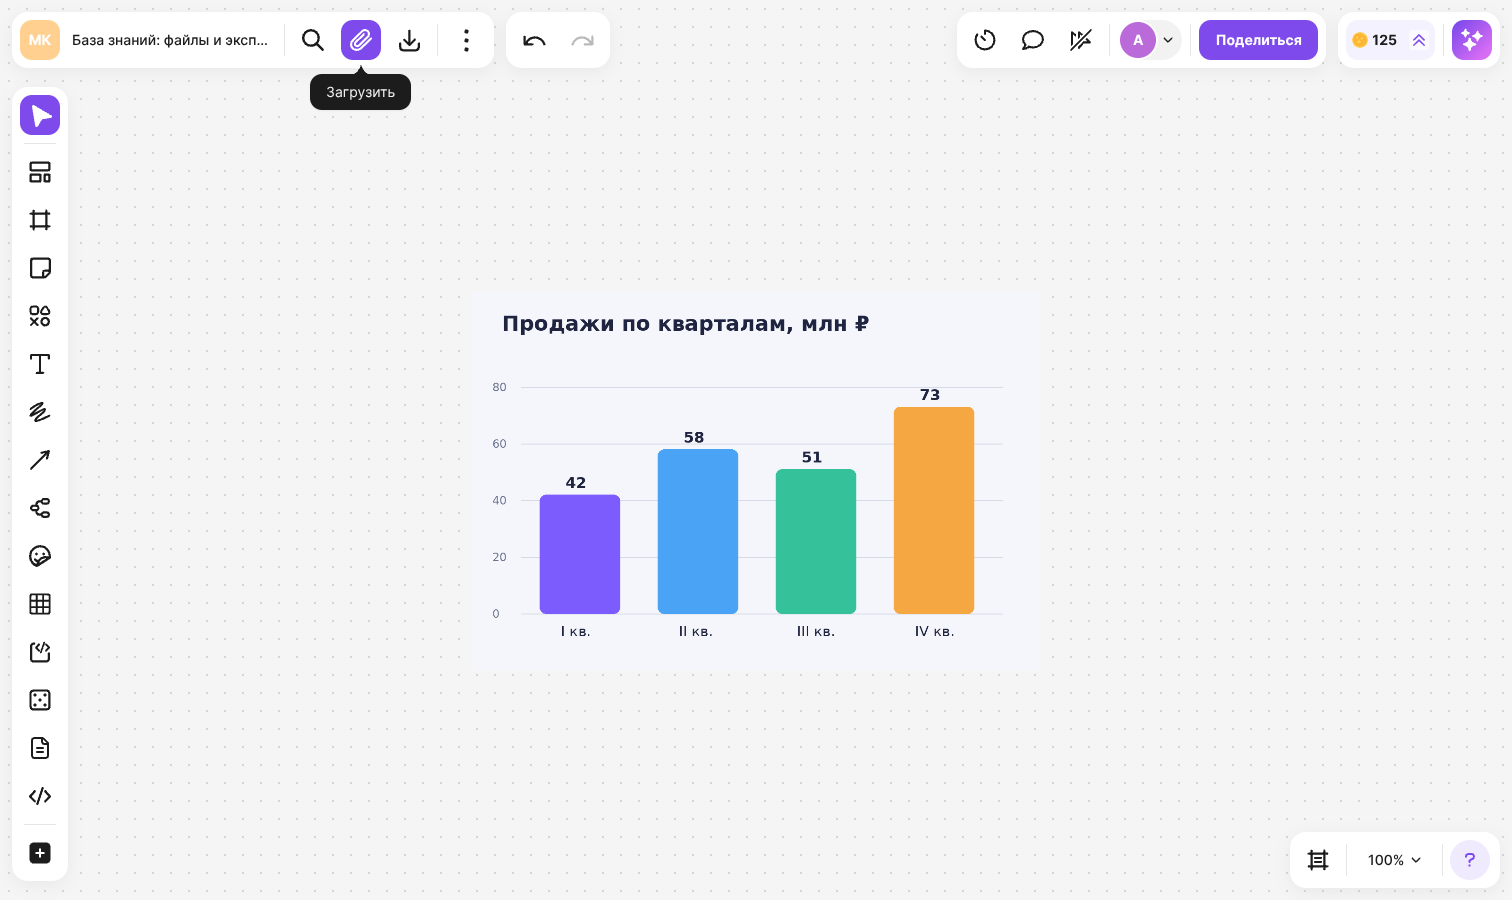
Option 2. Drag files from a folder on your computer onto the flip — the element appears where you drop the file
Option 3. Copy an image — in a graphics editor, on a website or as a file in a folder — and press Ctrl + V (⌘ + V on macOS) on the flip. If the clipboard contains a direct link to a picture, the image itself is added to the flip
While files are being uploaded, flip shows the “Files are loading” notification. A large image is automatically scaled down to fit the visible area, and its proportions are kept
Formats and limits
Images: BMP, JPEG, PNG, WebP, GIF, SVG, HEIC and HEIF
- File size — up to 20 MB
- Up to 50 images at once
- A raster image — no larger than 8192 × 4096 pixels
Files: PDF, PPT, PPTX, DOC, DOCX, XLS, XLSX, CSV, ODT, RTF, TXT, MHT and MHTML
- File size — up to 35 MB
- Up to 3 documents at once
A file in an unsupported format or beyond the limits is not uploaded — flip lets you know with a notification
Important
When you upload spreadsheets (XLS, XLSX, CSV), text documents (DOC, DOCX, ODT, RTF) and MD and TXT files, flip asks how to add the content: as an editable element or as a file. To get a view-only file, select “Create as file”. Read about the editable options in the Tables and Documents articles
Source code files are added to a flip as a code block
How to work with an image
Select an image — a menu appears above it
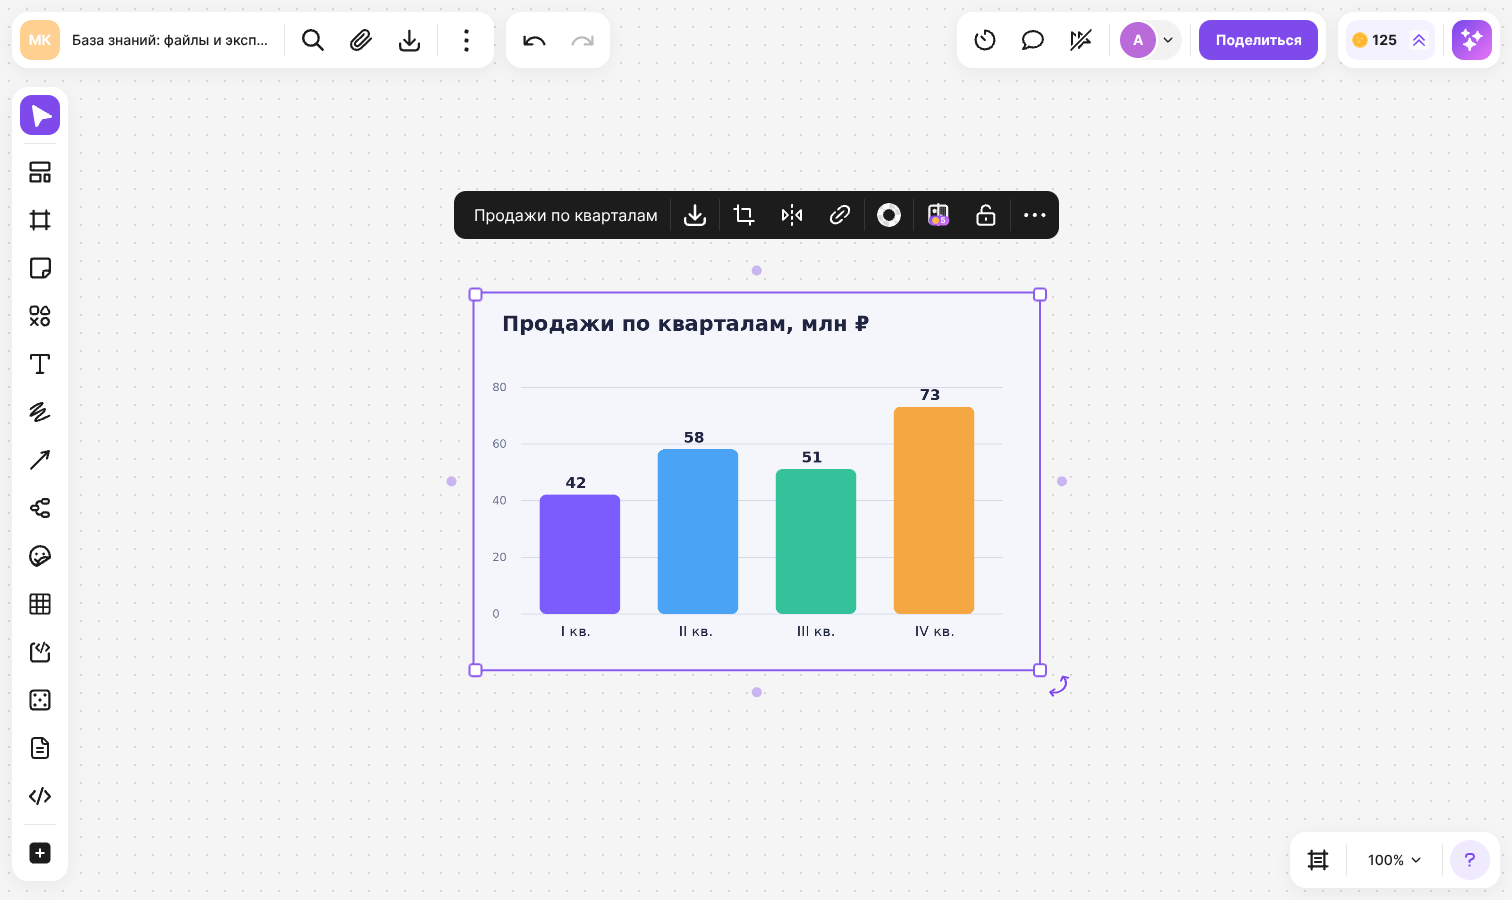
- Name — click it to rename the image. By default it is the file name without the extension
- “Download” — saves the original file to your computer: without the crop, flip and border. If you select several images or files, they are downloaded as one archive
- “Crop” — opens the list of crop modes. You can also turn on crop mode by double-clicking the image
- “Flip” — “Flip Horizontal” or “Flip Vertical”
- “Border” — the line type, width, color and opacity of the frame around the image
- “Remove Background” — removes the background with AI. The feature uses the same plan limit as image generation
To resize an image, drag a corner or a side of the selection frame — the image is always resized proportionally. To rotate it, drag the rotation button at the bottom right corner of the frame
Cropping
- Select an image and click “Crop” — the list of modes opens
- Choose a mode: “Custom”, “Original”, “Circle”, “Square” or an aspect ratio of 3:4, 4:3, 9:16, 16:9 — crop mode turns on
- Move the borders of the area or the image itself inside it
- Click the check mark icon — “Apply”. To exit without changes, click the cross icon — “Cancel”. The Esc key applies the crop instead of canceling it
The crop mode menu also has the “Remove Background” icon
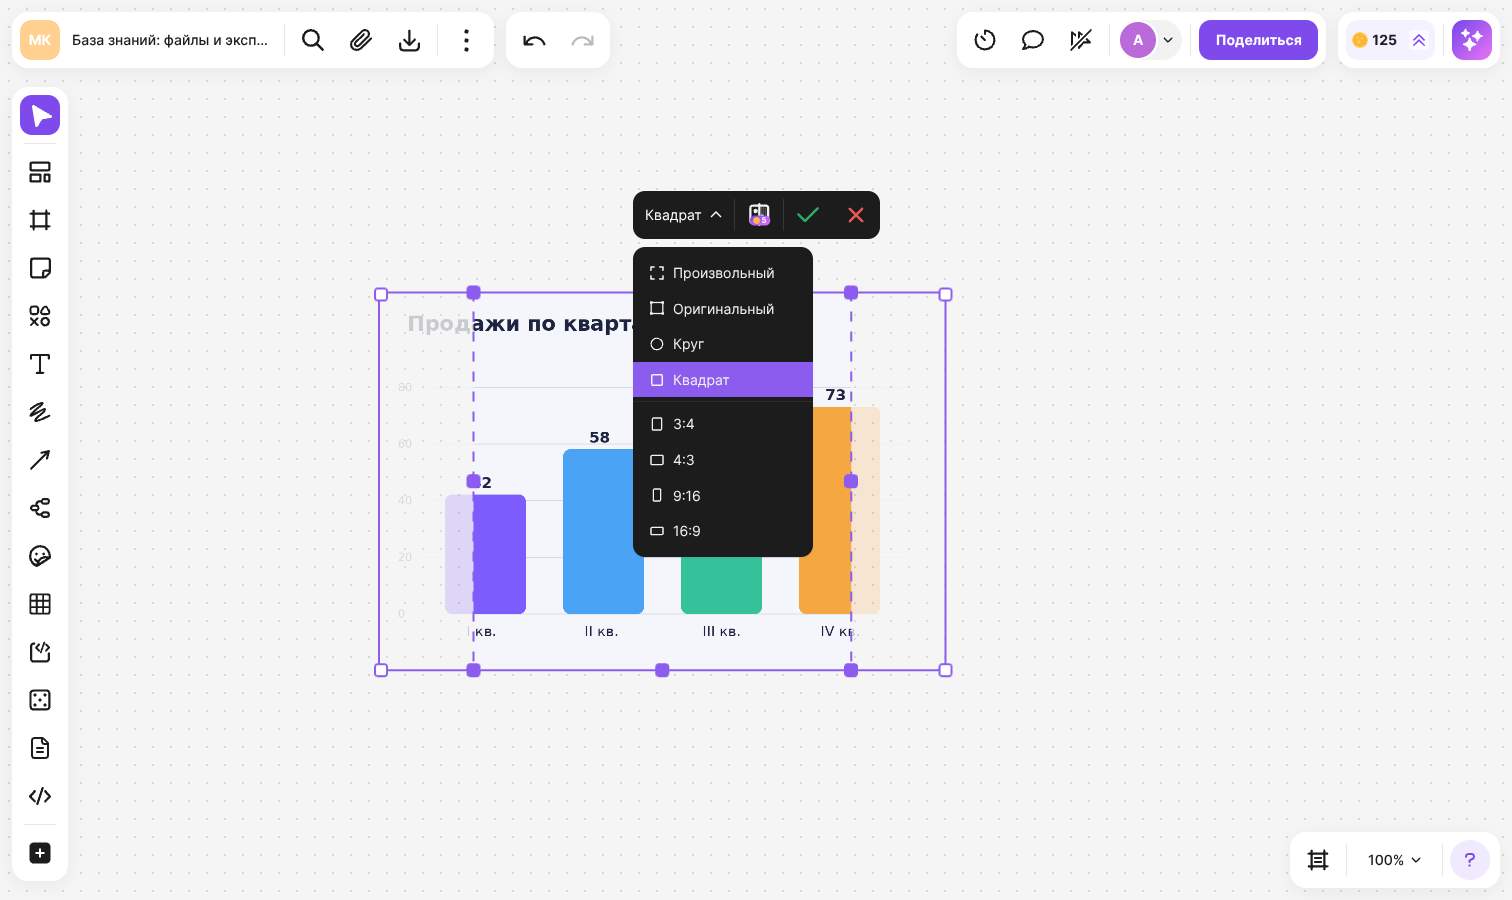
You can change the crop later: open the mode again and select “Original” to bring back the whole image
How to work with a document file
An uploaded PDF, presentation or office document is shown on a flip in one of two views. To switch it, select the file and click “View”:
- “Document” — a page of the file is shown on the flip
- “Card” — a compact card with the file name, type and size
In the “Document” view, the menu above the file offers:
- The file name with its extension, for example “Project plan.pdf”
- Page navigation — with the arrows or by entering a page number and pressing Enter
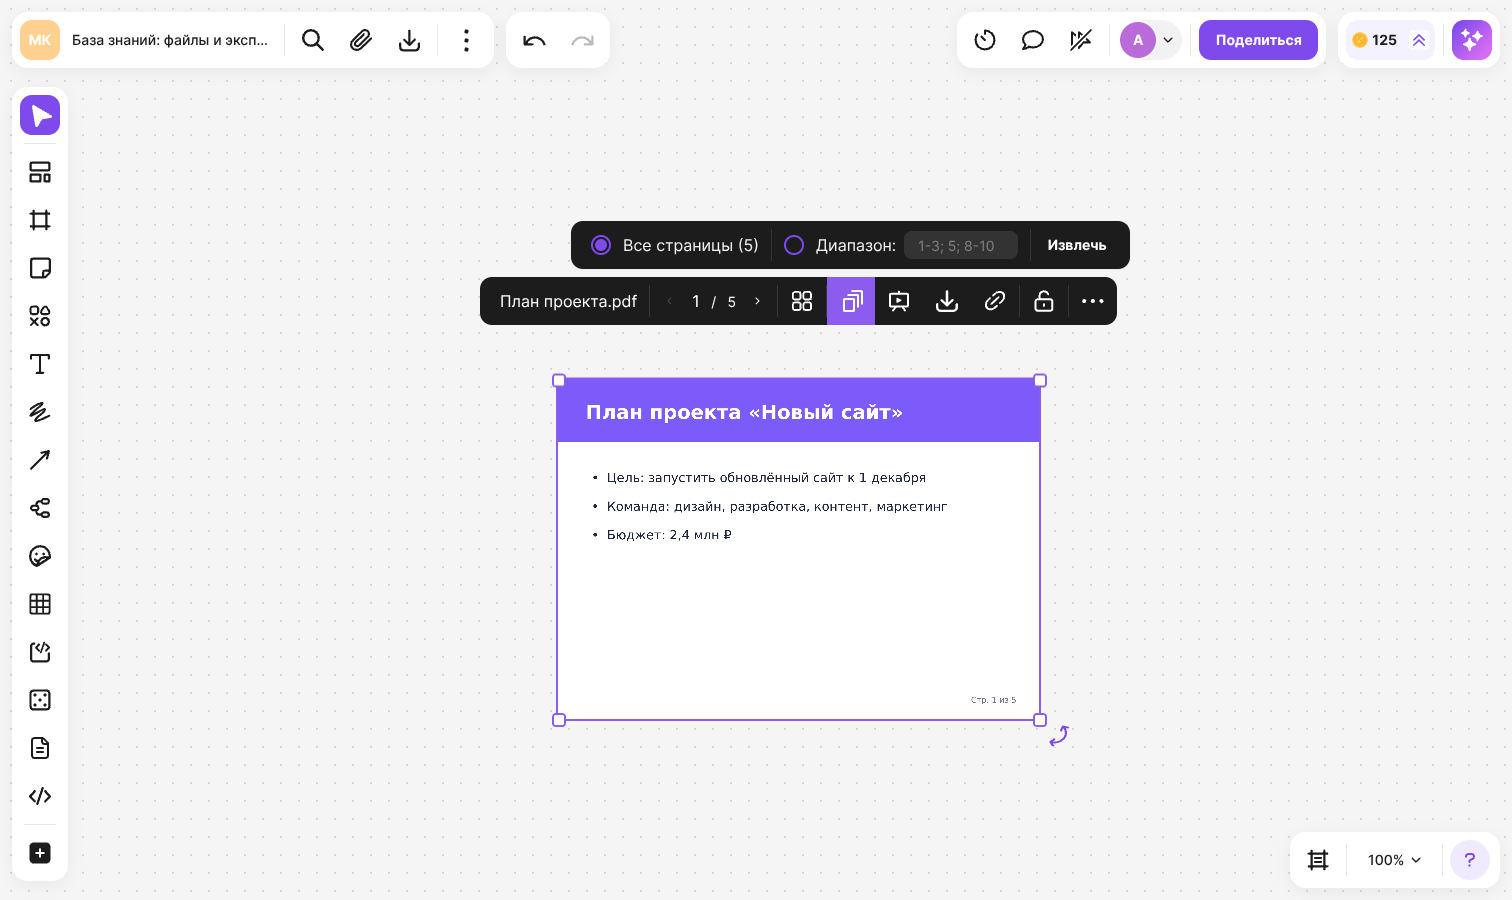
- “Extract” — adds pages to the flip as separate images
- “Start presentation” — shows the pages in full screen; learn more in the Presentation mode article
- “Download” — saves the whole original file, not just the open page
Extracting pages
- Select a file in the “Document” view and click “Extract”
- Select “All pages” or “Range:” and enter the page numbers. Separate single pages and ranges with a semicolon, for example
1-3; 5; 8-10 - Click “Extract”
The pages appear on the flip as images, in page order, and flip shows the “Files successfully extracted” notification. If you enter a page that the document doesn't have, or a range in reverse order, the “Wrong extraction range” message appears
Context menu
Right-click an image or a file to open more actions:
- “Copy as image” — copies the element to the clipboard as a picture so that you can paste it into another app. The shortcut is Ctrl + Shift + C (⌘ + Shift + C on macOS)
- “Save as...” — exports the element; learn more in the Export article
- “Information” — the file name, who added the element and when, and when it was last modified
Limitations
- Cropping and flipping are not available for GIFs, and flipping is not available for SVGs
- You can crop only one image at a time
- In the “Card” view, page navigation, page extraction and the presentation are not available for a file