

Create shape sets to use your own SVG elements in flip. Once created, a set can be used on all your flips and, if needed, made available to other members of your space
How to create a shape set
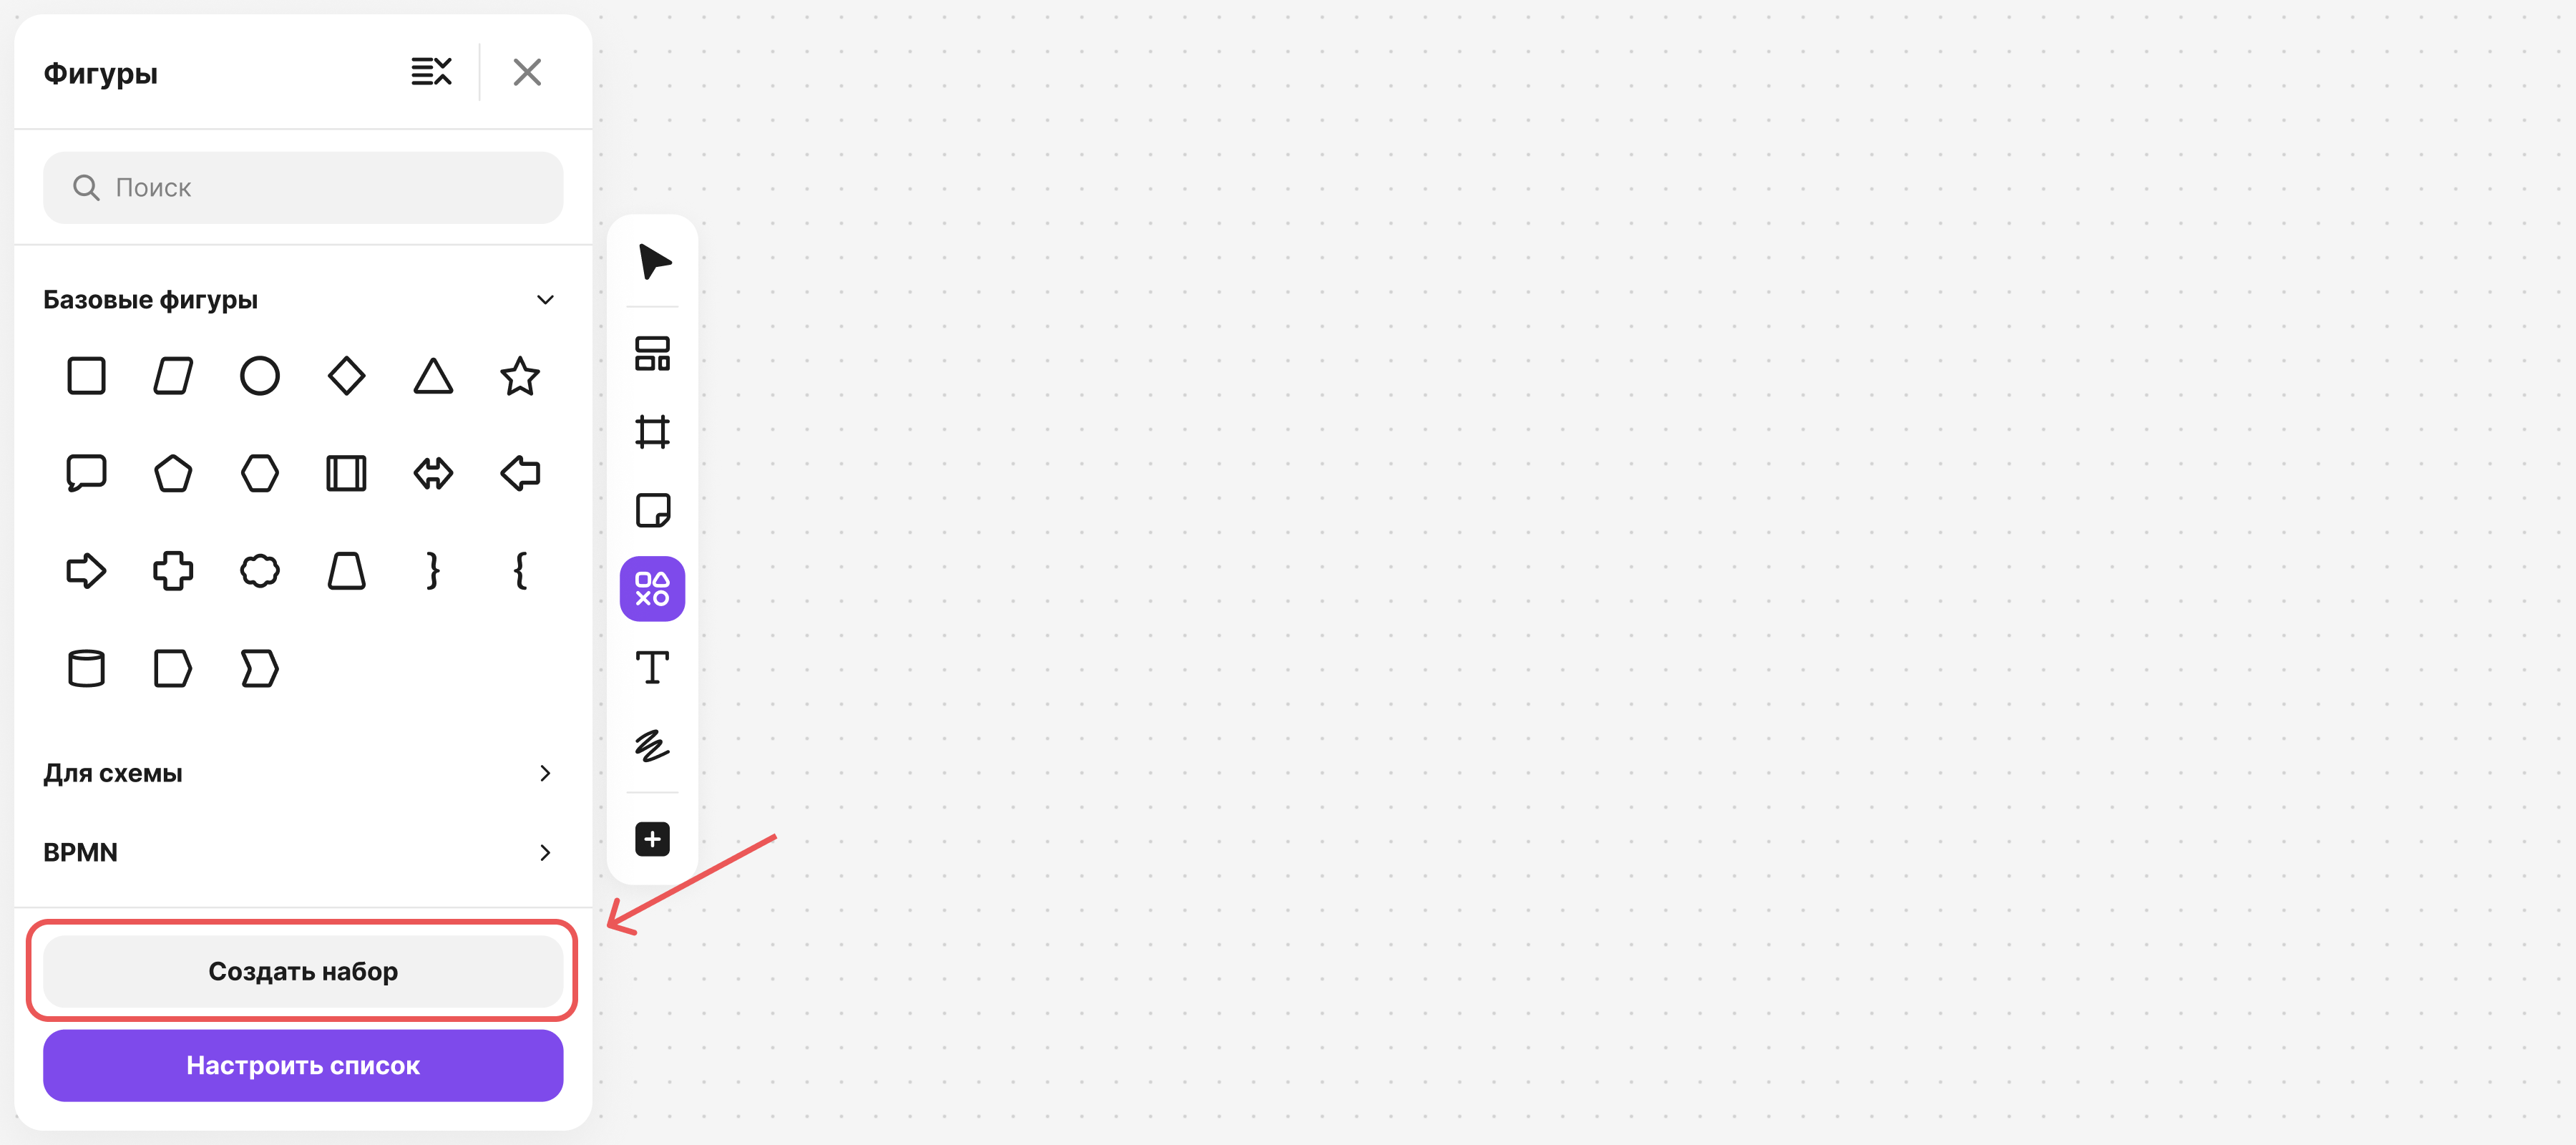
Option 1. In the “Shapes” panel, click “Create set” at the bottom of the panel
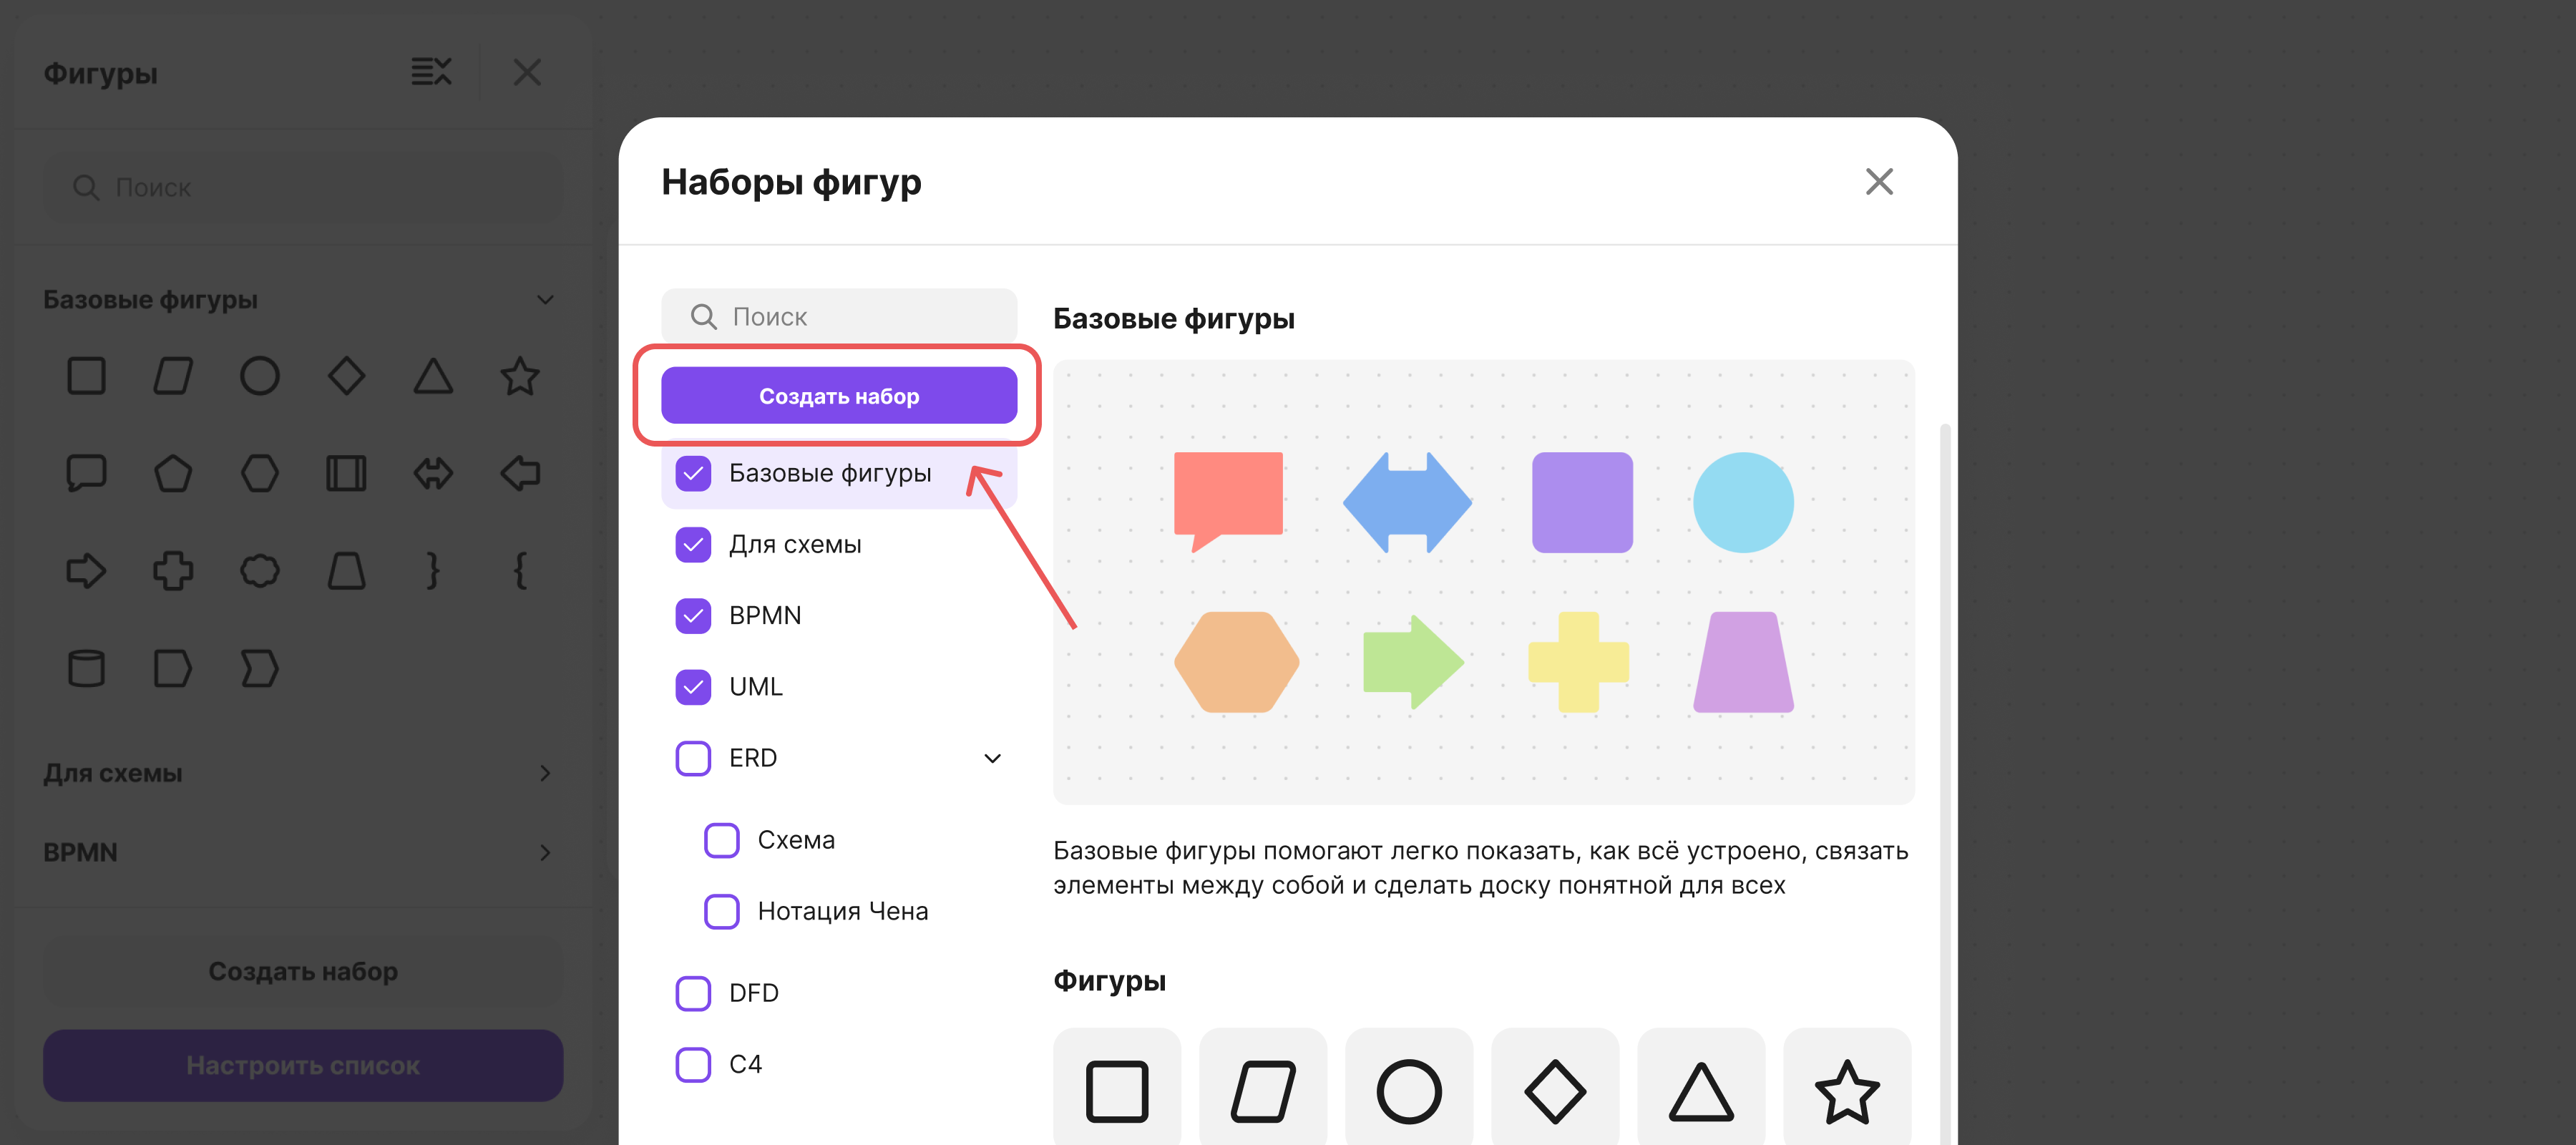
Option 2. In the “Shape Sets” window, click “Create set”
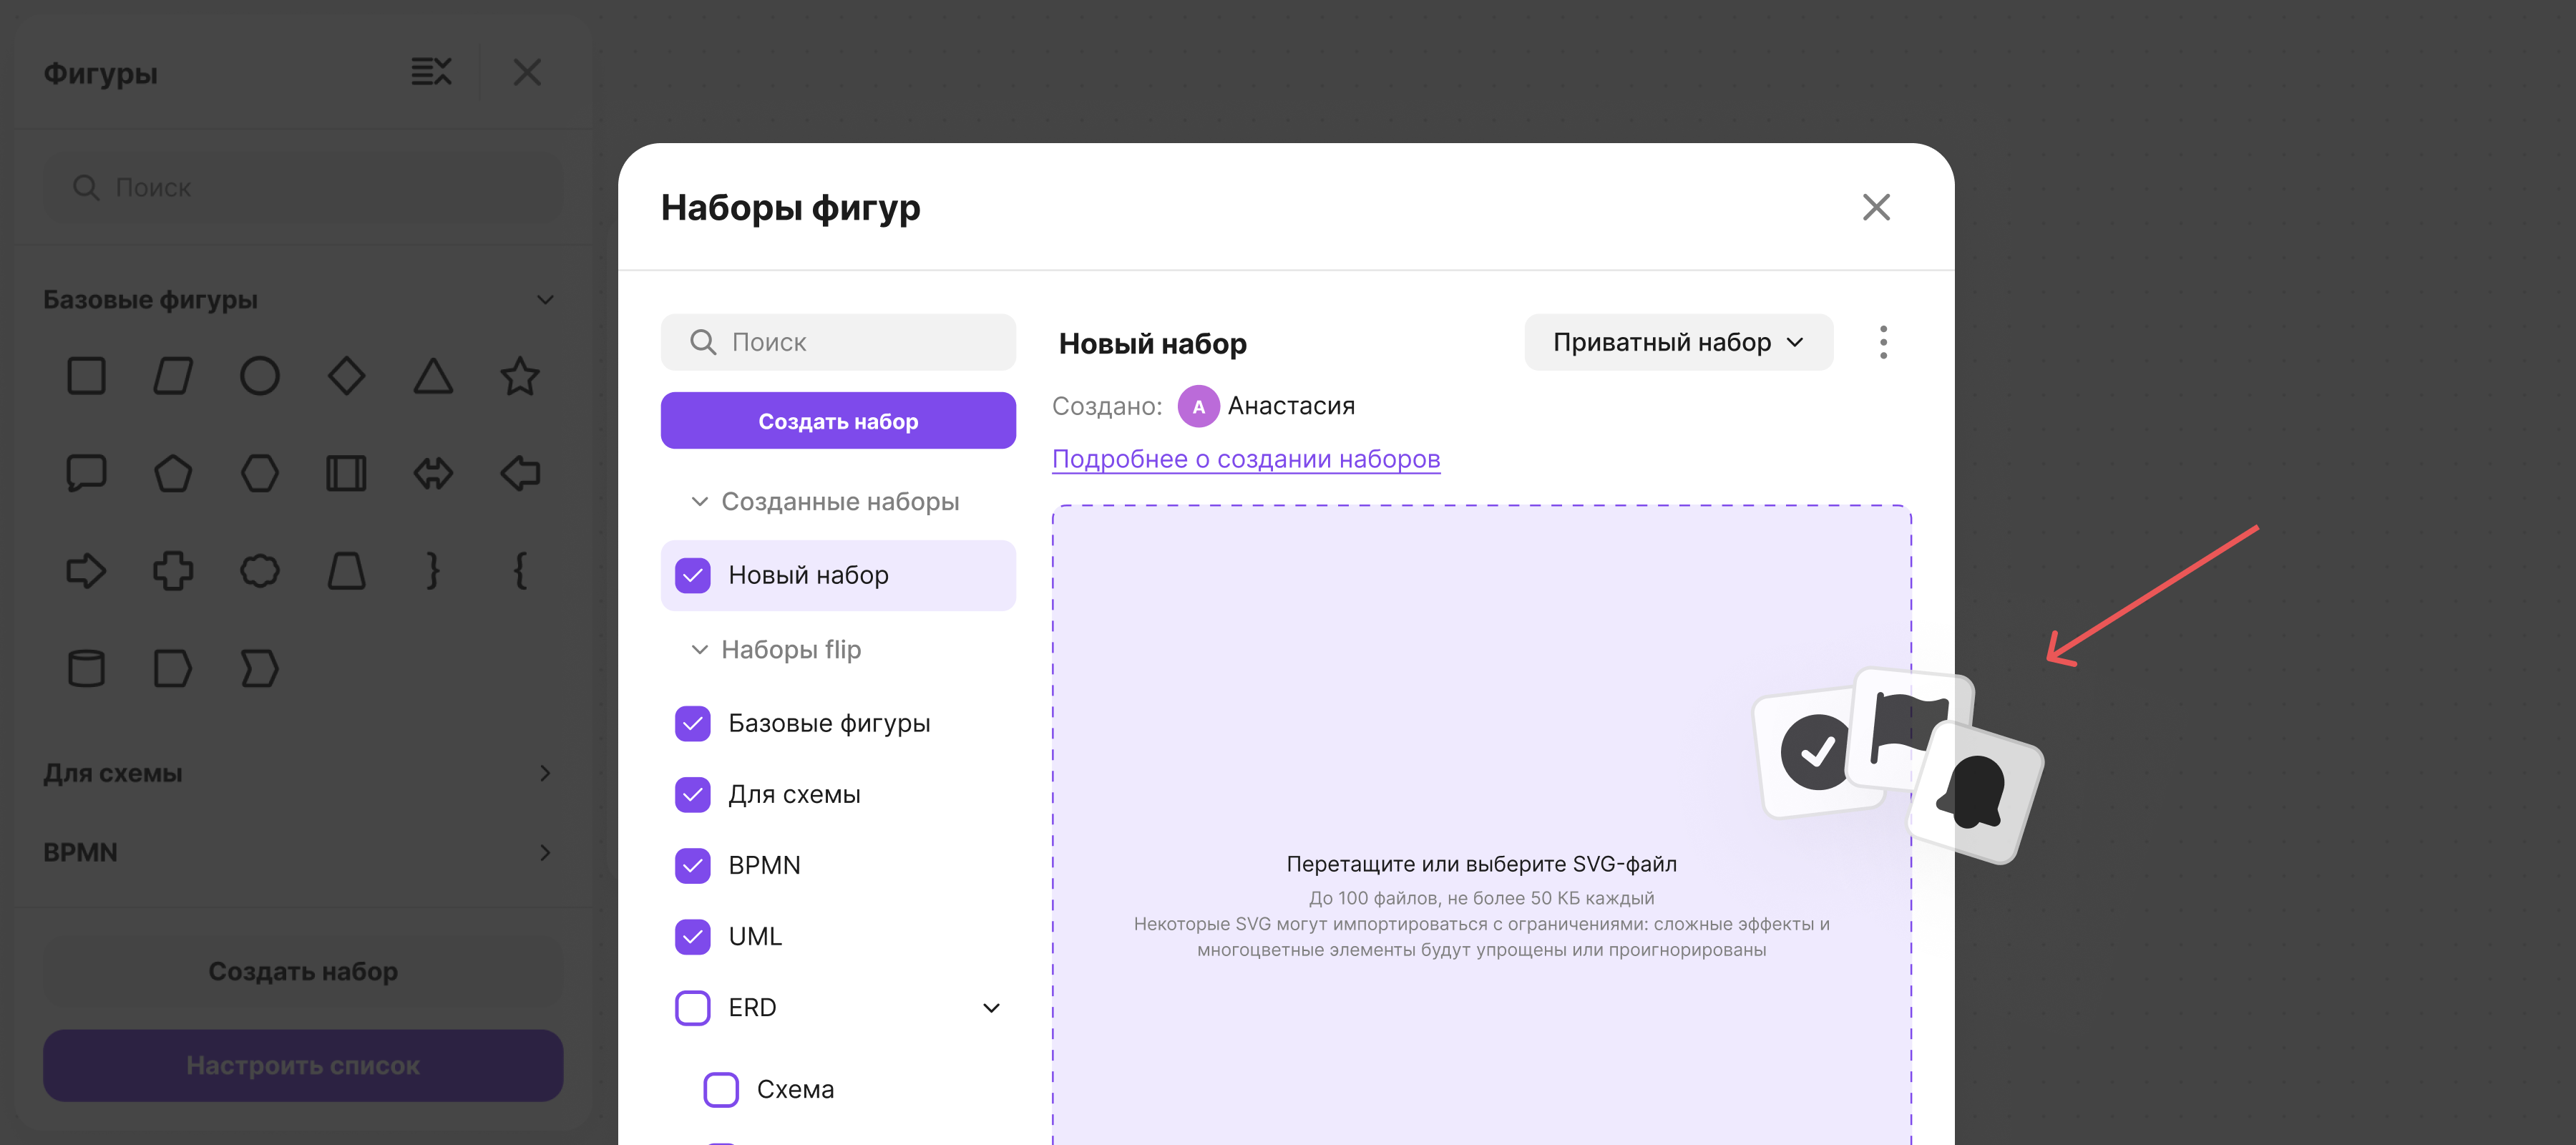
After creating the set:
Enter a name for the set
Add SVG files
Choose the access level
Plan limits
Shape sets can be created on the Individual, Business and Enterprise plans
Adding shapes
Drag SVG files to the upload area or click it to select files on your computer
Once uploaded, the shapes will appear in the selected set right away and become available in the “Shapes” panel — click a shape in the panel to add it to a flip
SVG requirements
The following limits apply to imported files:
The file must have the .svg extension
Up to 100 files per set
Each file must be no larger than 50 KB
SVG files containing standard vector shapes are supported:
Path
Rectangle
Circle
Ellipse
Line
Polygon
Polyline
Important
When preparing SVG files, we recommend using:
Fill — for filled shapes, if you will need to change the fill color later
Stroke — for outline shapes without a fill
Fill + Stroke — if the shape needs both a fill and an outline
This approach ensures that shapes are displayed correctly and lets you change their styling after adding them to a flip :::
For correct display, we recommend using simple SVG files without complex visual effects
Not supported:
Text inside SVG
Embedded images
Gradients, masks and filters
Clip-path, pattern, symbol, foreignObject, use
Files that don't meet the requirements won't be uploaded — flip will let you know with a notification and add the remaining shapes to the set
Managing a set
To change a set, open the “Shape Sets” window and select the set you created
Here you can:
Rename the set and individual shapes
Change the access level
Choose whether shape names are shown on the flip
Reorder shapes — drag a shape to the right place in the set
Replace an existing shape in the set by uploading a new one
Export the set — download an archive with all its shapes
Delete a shape or the whole set
Only the owner of a set can change it. Other members of the space can use a shared set on their flips
Replacing a shape
If you have updated an SVG file or want to replace a shape with another one, open the “Shape Sets” window, select the set, hover over the shape you want to replace, open the context menu and select “Replace”
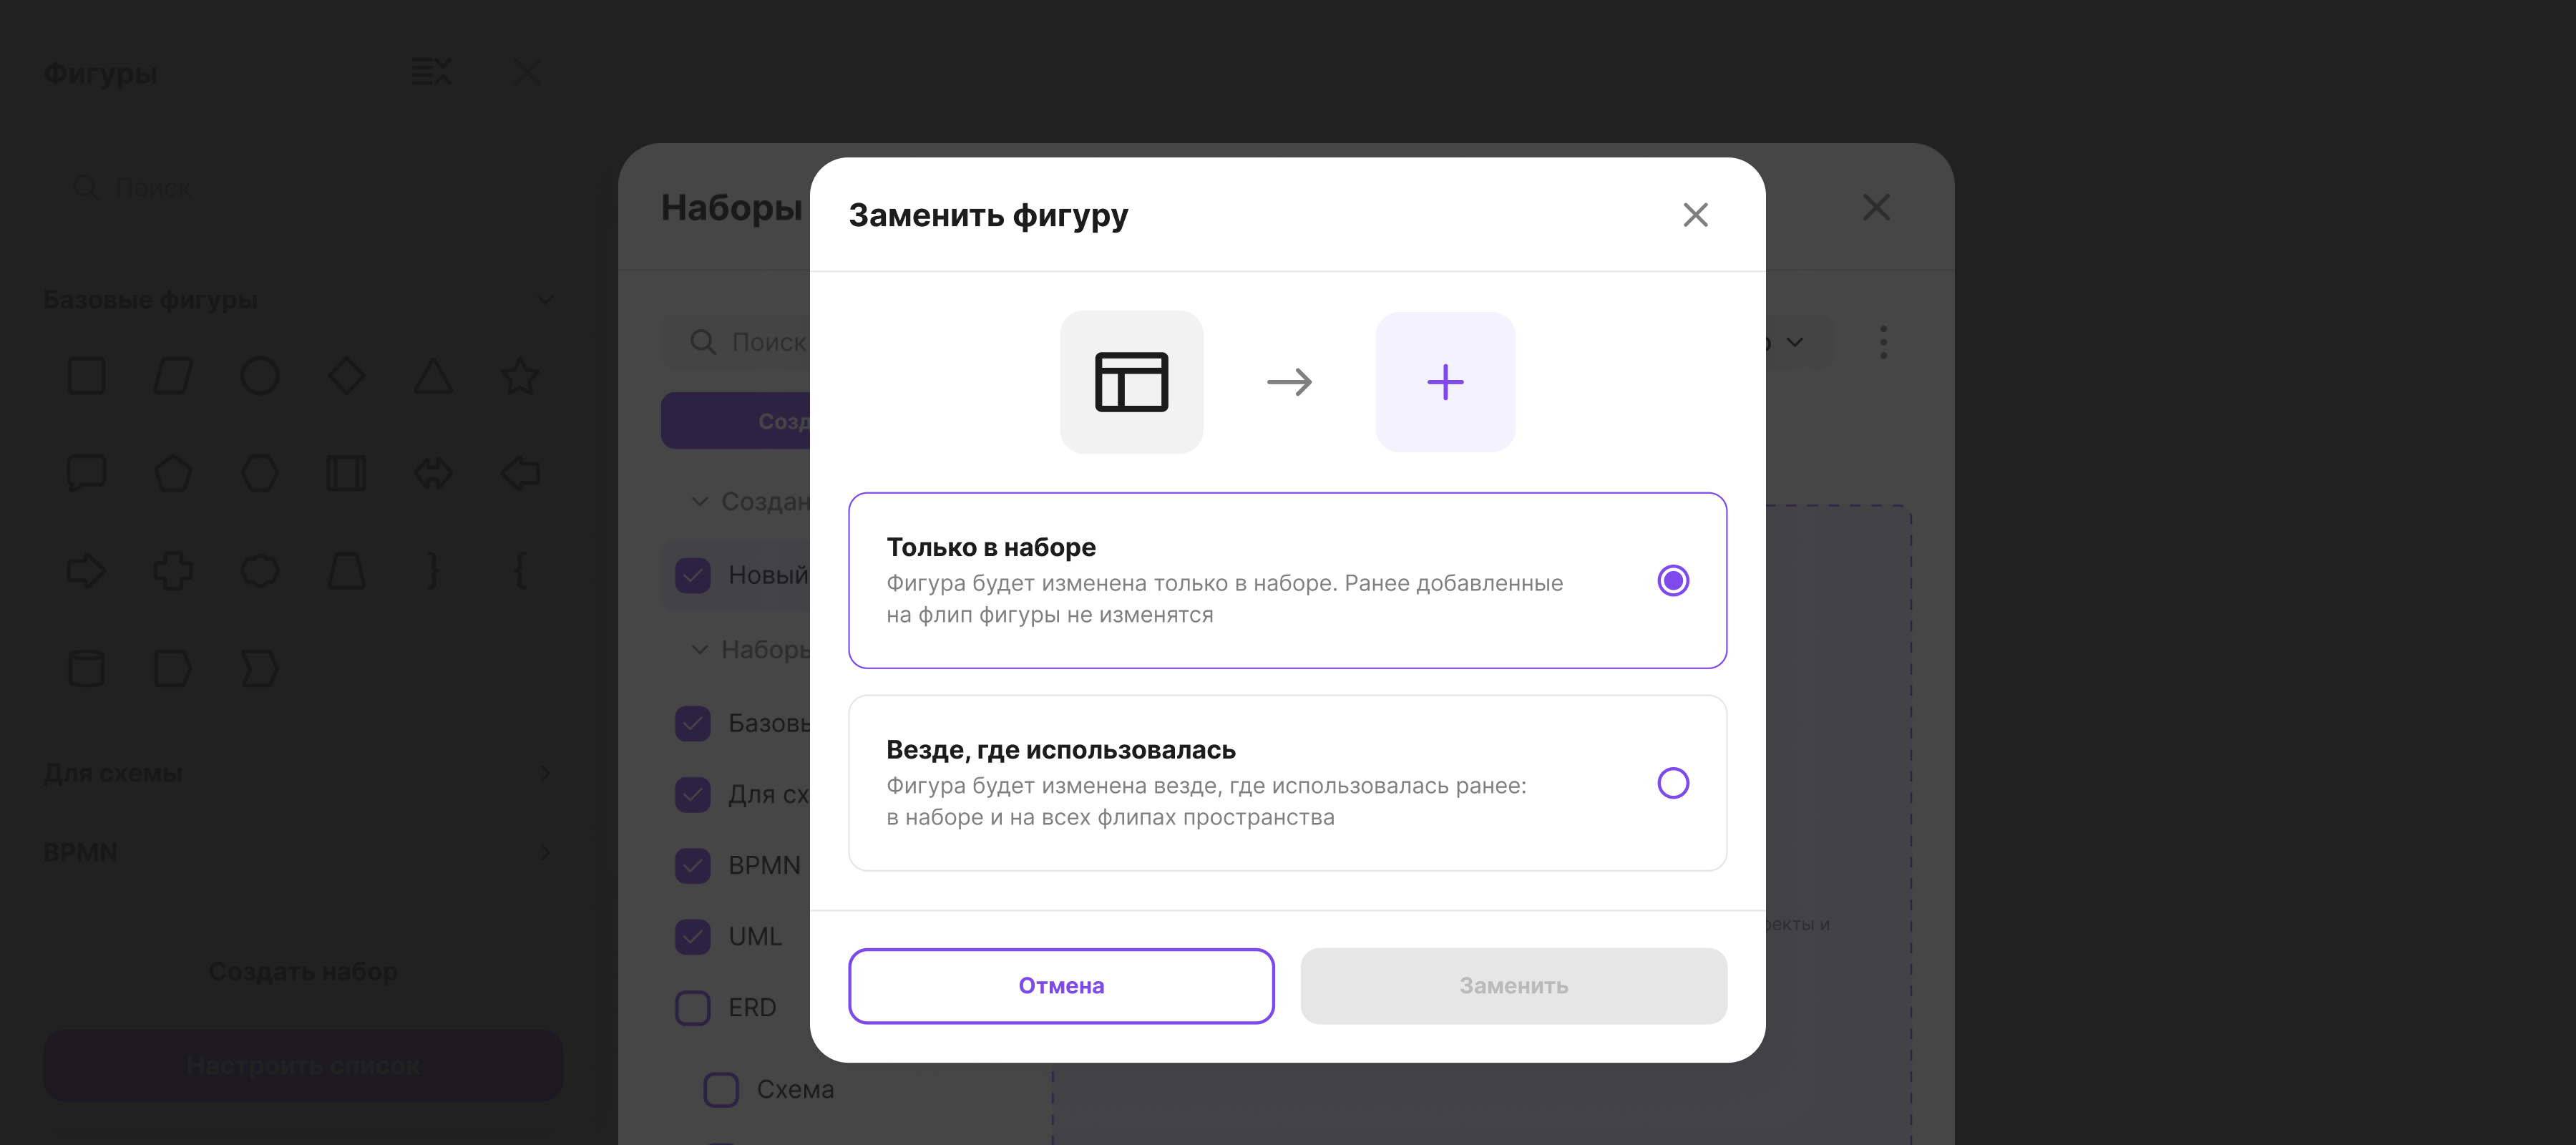
When replacing a shape, choose one of the options:
- In this set only — the shape will change only in the set. Shapes already added to flips will stay as they are
- Everywhere it is used — the shape will change everywhere it was used before: in the set and on all flips in the space
Access levels
For each set, you can choose one of the following access levels
Private set — available only to the creator of the set
Public set — available to the members of your space, who can use it when working on flips
You can change the access level at any time in the “Shape Sets” window