

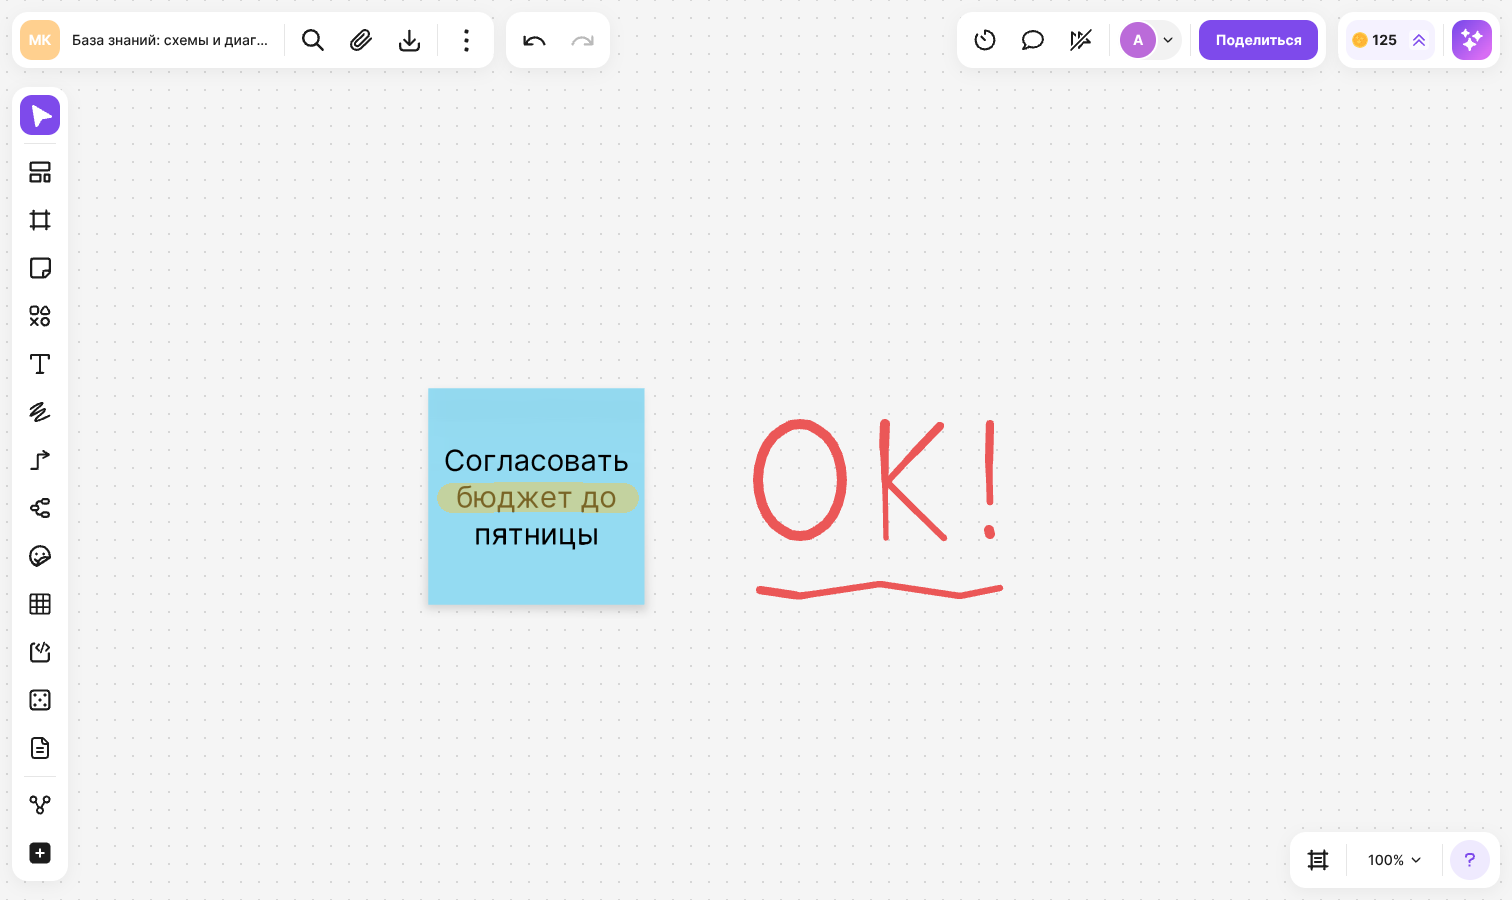
The “Draw” tool lets you write and draw freehand on a flip: sketch a diagram, circle something important, make a note on top of other elements. Each stroke becomes a separate element of the flip — you can move, recolor and delete it like any other
How to start drawing
On the toolbar, select “Draw”. If the tool is not on the toolbar, open “All tools”
A menu with the “Marker”, “Highlighter” and “Eraser” tools opens next to it. The menu has icons without labels — their names are shown in tooltips on hover. “Marker” is selected by default
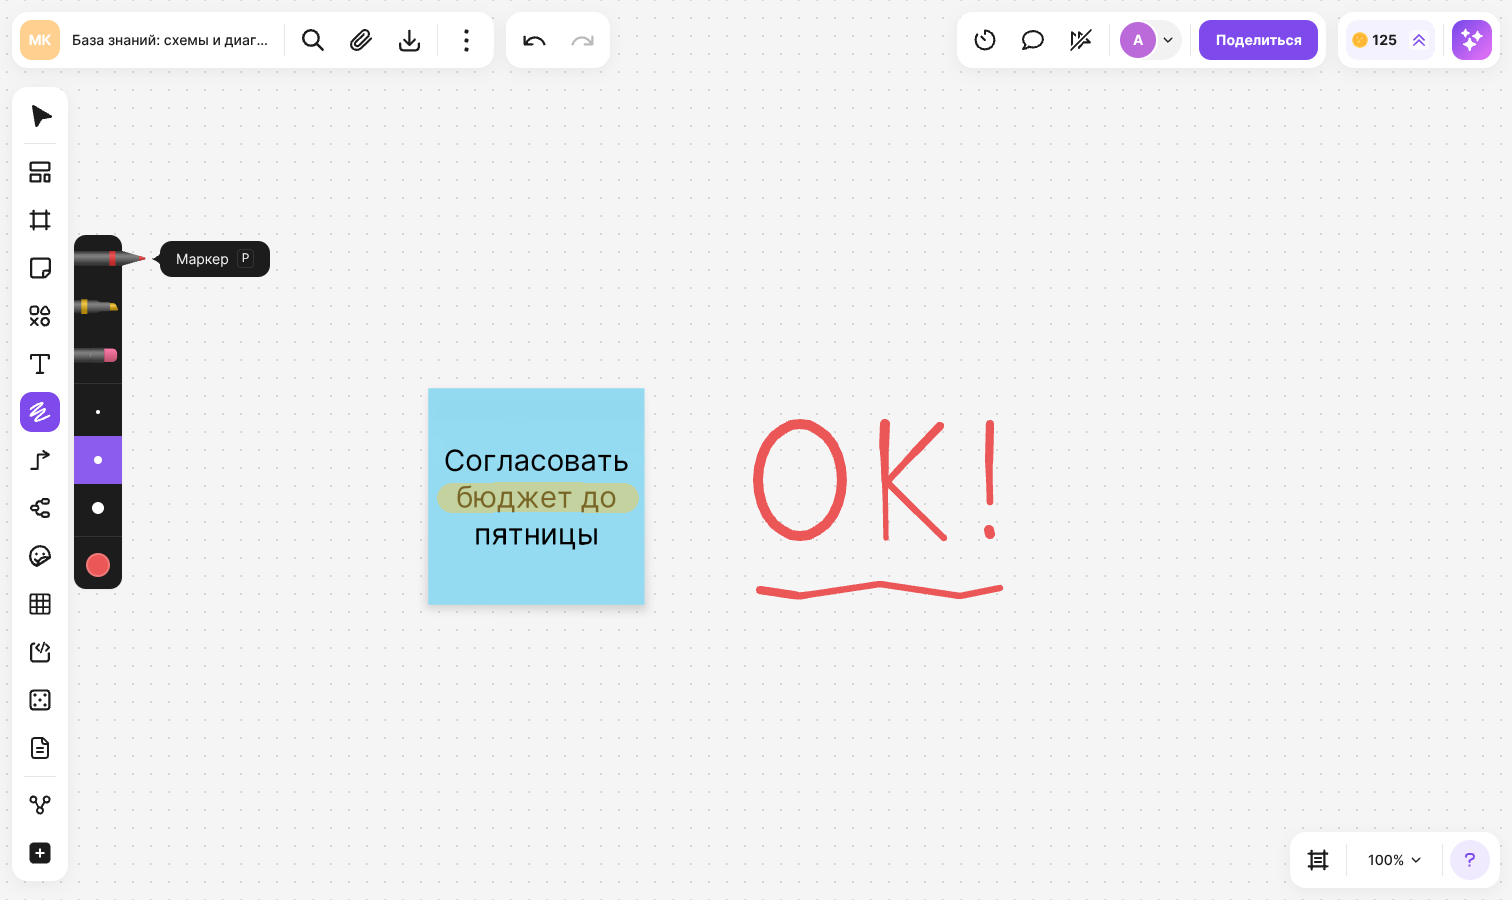
Choose a tool:
- “Marker” — an opaque line
- “Highlighter” — a semi-transparent line that shows the content under it
Hold down the mouse button and move the cursor across the flip. Release the button to finish the stroke
After the first stroke the menu closes, but the tool stays active — you can keep drawing. Each new stroke is created separately from the previous one. To stop drawing, press Esc or select another tool on the toolbar
Hold Shift while drawing to make a straight segment: the line locks to the horizontal, the vertical or a 45° diagonal. Release Shift, and the line follows the cursor again
How to choose the width and color
Open the “Draw” menu and choose a tool — three width options shown as dots of different sizes and a colored circle — the “Fill” button — appear under the list of tools:
- The marker width is 2, 10 or 20
- The highlighter width is 10, 20 or 30
- Click “Fill” under the width options and pick a color in the palette
The marker and the highlighter remember their colors separately: when you switch between them, each keeps its own color
How to erase a stroke
- In the “Draw” menu, select “Eraser”
- Click a stroke or drag across several strokes
The eraser removes a whole stroke — you cannot erase a part of it. The eraser does not affect shapes, text, stickers, images and other elements
You can also delete a drawing the usual way: select it and press Delete (Backspace on macOS)
How to change a finished drawing
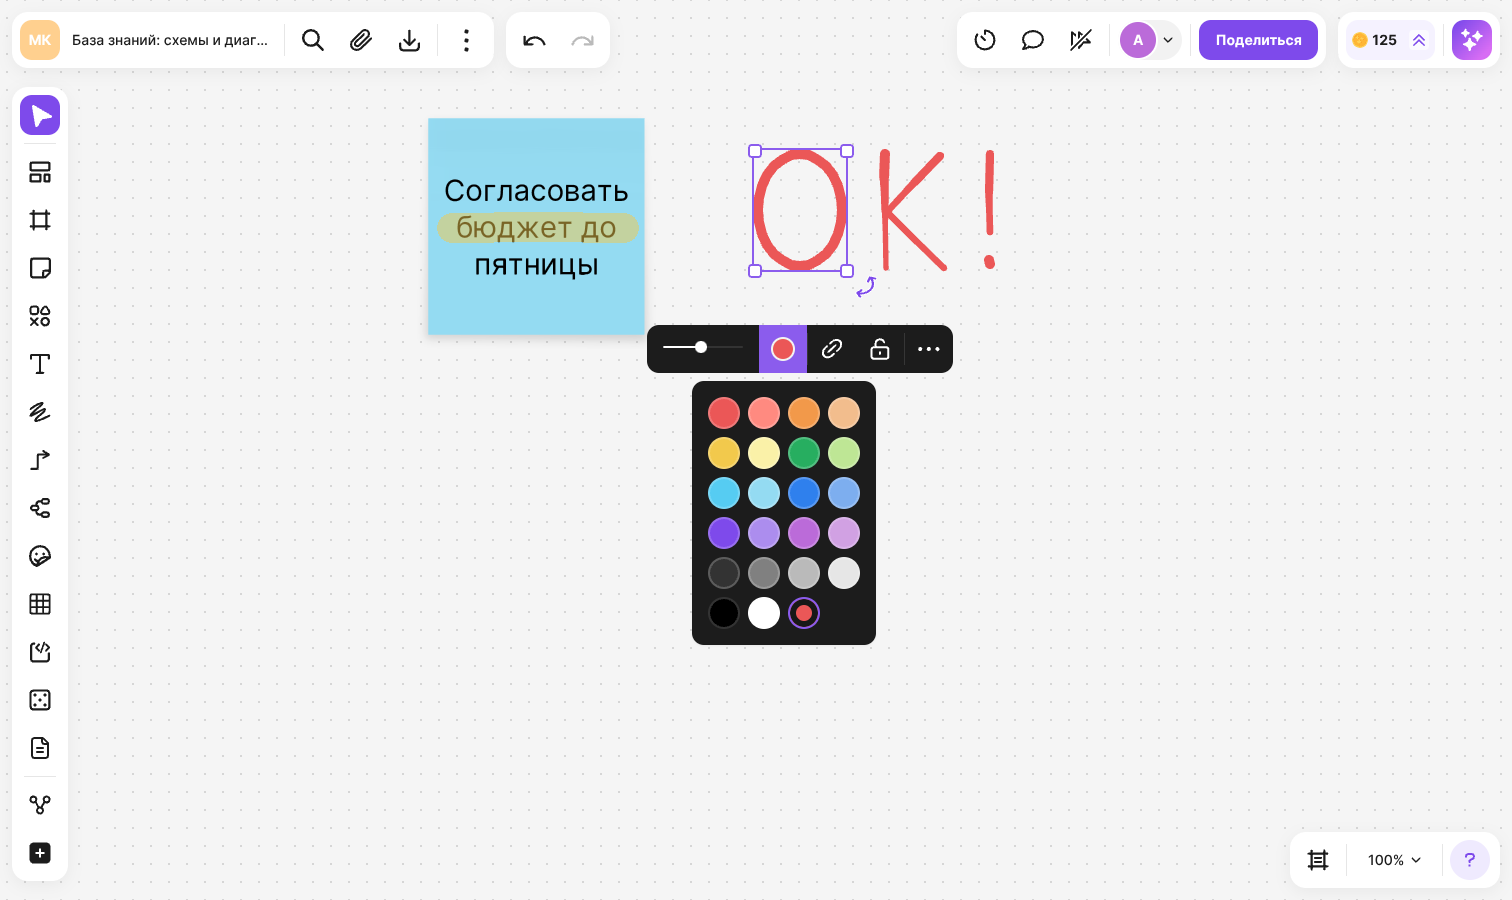
Choose the “Edit” tool (the V key) and click the drawing — a frame appears around it and a menu above it
- Drag the drawing to move it
- Drag a corner or a side of the frame to resize it. The drawing is resized proportionally, together with the line width
- Move the slider in the menu to change the width: from 1 to 20 for the marker and from 10 to 30 for the highlighter
- Click “Fill” to choose another color. The shape of the stroke does not change
It is convenient to group several strokes to move them together, and to lock a finished drawing against accidental changes. Learn more in the Grouping, alignment and locking article. You can also attach an arrow to a drawing
Hotkeys
- P — “Marker”
- I — “Highlighter”
- E — “Eraser”
- Ctrl + Z (⌘ + Z on macOS) — undo the last stroke
- Ctrl + Shift + Z (⌘ + Shift + Z on macOS) — redo the undone stroke
The tool keys do not work while you are typing text. The full list of shortcuts is in the Hotkeys article
Limitations
- A transparent color and the opacity setting are not available for drawings: the transparency of a line is defined by the tool you choose — “Marker” or “Highlighter”
- The eraser does not remove a part of a stroke — only the whole stroke